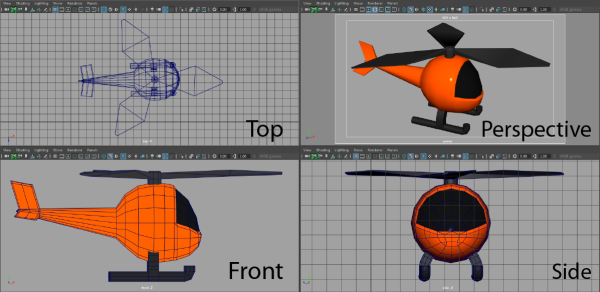
When you start a new scene it has four default cameras: persp (perspective), front, side, and top (orthographic). The perspective camera obviously shows the scene using a perspective view, but the orthographic cameras show the scene from a camera that is orthogonal to a specific plane.
The current camera's name is displayed in the center at the bottom of the view panel.
You can use the default cameras as you model, animate, shade, and texture objects, but you can't use them to render a scene. To do this, you need to create a rendering camera - see Create and use a camera. The only difference between the default cameras and a rendering camera is a flag that allows it to render the scene.
See the topics in Camera Setup for more details about creating and using cameras.
| To... | Do this |
|---|---|
|
Select a camera for the view panel |
In a view panel, open the Panels menu and select a camera from the Perspective or Orthographic submenu. or If the camera object is visible in the scene, select it and choose Panels > Look Through Selected. |
|
Create a new camera for the view panel |
In a view panel, select or . Note that the back, bottom, left, and right cameras are available from this menu, in addition to the front and top cameras. |
|
Create a new camera for rendering the scene |
Choose a camera type from the submenu on the main menu - see Create and use a camera. |
|
Set a camera's attributes |
Choose in a view panel. |