In the following procedure, you match and blend the two clips to remove the jump in the animation.
To match and blend the two clips:
- In the Story window, click next to the clips in an empty space in the Character Track, and then press A to zoom in on the clips.
- Select the second clip.

- In the Character Controls window, make sure the Right Ankle effector is still selected.
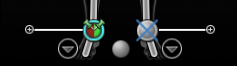
Right Ankle Effector shown selected
- In the Story window controls, click the Match options
 .
. 
The Match Options dialog displays.
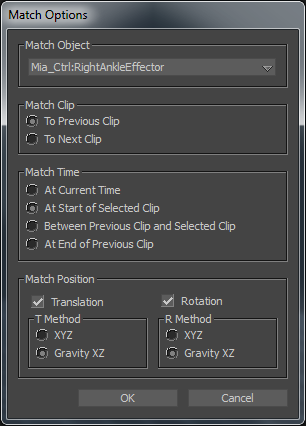
- Make sure the options selected match what is shown in the Match Options dialog figure and then click OK.
- From the menu bar, choose Window
 Add Asset Settings.
 An empty Asset Settings dialog displays.

- In the Story window Character Track, double-click the second clip.
The Asset Settings dialog displays the Character Clip settings and options.
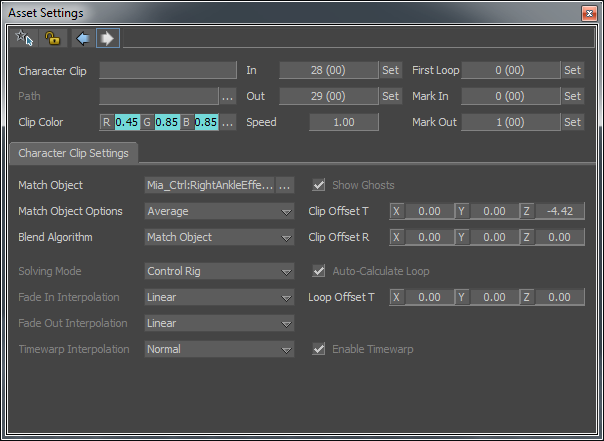
- In the Character Clip In field, set a value of 23.
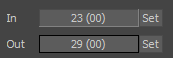
The second clip now starts at frame 23, and cross-blends with the first clip to end at frame 29. This blend creates a slightly smoother transition between the clips.

- Close the Asset Settings dialog.
- Play the animation.
- Go to the Play Controls (
 ) and click Play (
  ).
). - Go to the Action timeline and drag the Timeline indicator (
 ) to scrub through the animation.
In the Transport Controls, do either of the following:
Mia starts and ends her walk in the same pose.
- Go to the Play Controls (
Note: This procedure assumes you have just completed the previous procedure.
See .Create poses.