To measure the distance between two objects in a scene:
- In the
Viewer window
Display menu, set the display to
Normal,
X-Ray,
Models Only, or
Models Display
Wireframe display mode.

Setting the Display mode to Normal, X-Ray, Models Only, or Models Display Wireframe enables you to see objects and models, their bounding box centre (displayed as a Magenta hexagon), and their Rotation and Scaling pivots.
Note: Elements such as lights and cameras are not displayed in Models Only display mode. - In the
Viewer window, click the
Ruler tool (
 ) in the Camera View Display toolbar options (
 ) (or press
Ctrl-Shift-R).
The cursor changes to a 2D cursor (
 ).
).
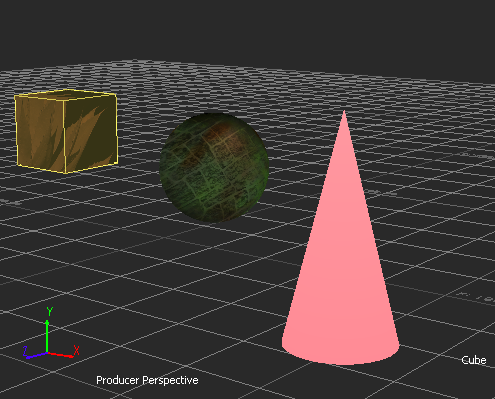
- Hover over an object.
The object highlights.

- Click the object and go to the next object.
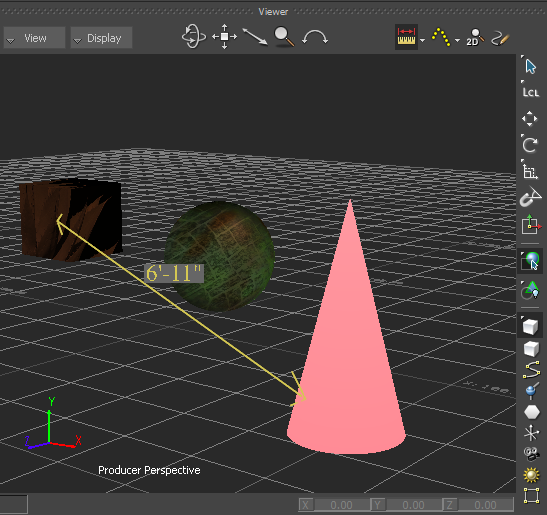
The measuring distance displays and updates dynamically as you start to move the cursor.

- Click the second object.
The system Ruler "object" is created and displays the distance between the two objects.

Ruler "object" displaying the distance between two objects
To edit the distance between two objects:
- In the Viewer window, click either of the two objects whose distance is measured.
- In the
Viewer window toolbar, click the Translate tool (
 ) (or press
T).
- In the
Viewer window, drag the object to the desired position.
The system Ruler "object" remains snapped to the objects and the distance between the two objects updates dynamically.
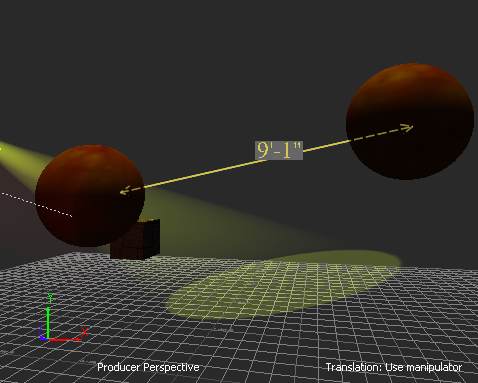
The system Ruler "object" is shown as a dashed line when it is occluded, as seen in the following figure.

Ruler shown partially occluded