To create a new material, add a material to a project and modify it as needed:
- Click
Render tab
 System panel
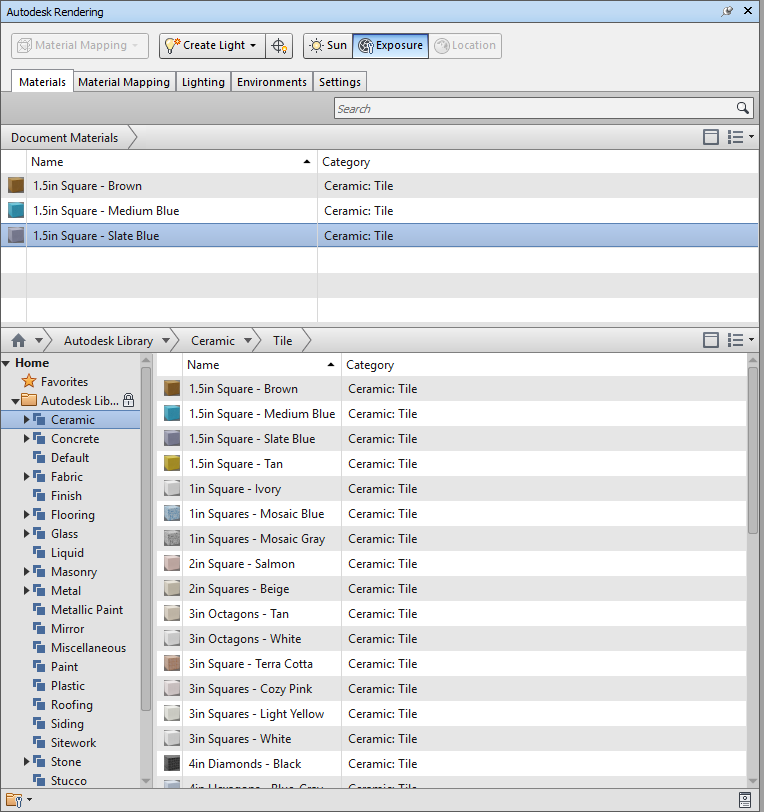
  Autodesk Rendering
 to display the dialog:

- On the Materials tab, browse the Autodesk Library and click to select a material type.
Tip: Select a material similar to the one you want to create.
- Hover over the material you want to use, and click
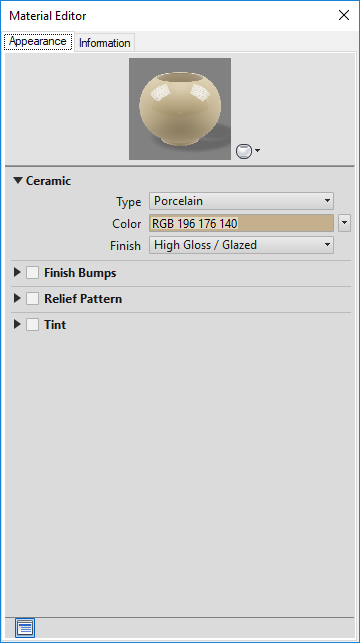
 at the end of the row to add the material to the project and display it in the Material Editor:
 Alternatively, if you already have a similar material in the project:
- In the Document Materials area, right-click the material.
- Select Duplicate from the context menu.
- Rename the new duplicate material.
- Right-click the new material and select Edit to display the Material Editor.
- On the Appearance tab, specify the material properties and color options.
- Click the Information tab and enter a name, description, and keywords to describe the material.