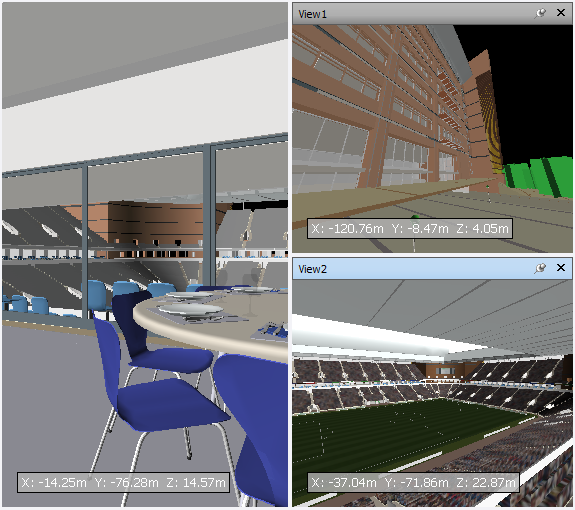
This is the area where you view and interact with your 3D models.
When you start Autodesk Navisworks, the Scene View contains only one scene view, but you can add more scene views, if needed. Custom scene views are named “ViewX” where “X” is the next available number. The default scene view cannot be moved.

Looking at several views of your model simultaneously is useful when you compare lighting and rendering styles, animate different parts of your model, and so on.
To interact with the model in the scene view, you can use the ViewCube, the Navigation Bar, the keyboard shortcuts, and the context menu.
Only one scene view can be active at a time. A scene view becomes active as you work in it. If you left-click a scene view, the scene view is activated and whatever you click is selected, or, if you click an empty area, everything is deselected. Right-clicking a scene view activates it, and opens a context menu.
Each scene view remembers the navigation mode being used. The recording and playback of animations only occurs in the currently active view.
Each scene view can be resized. To resize scene views, move the cursor over the scene view intersection and drag the splitter bar ![]() . By setting the content size to the same proportions as your intended output, you can visualize exactly how it will look.
. By setting the content size to the same proportions as your intended output, you can visualize exactly how it will look.
You can make custom scene views dockable. Dockable scene views have title bars, and can be moved, docked, tiled, and auto hidden the same way as dockable windows. If you want to use several custom scene views, but don't want to have any splits in the Scene View, you can move them elsewhere. For instance, you can tile your scene views on the Viewpoints control bar.