To import data from a Primavera
- If the TimeLiner window is not already open, click Home tab
 Tools panel TimeLiner
  .
. - In the TimeLiner window, click the Data Sources tab.
- Click the Add button and click Primavera P6 (Web Services). Note: If you can’t see this option, you must set up a Primavera Web Server first. Refer to the Primavera P6 Web Server Administrator Guide (available in your Primavera documentation).
- When the Primavera login dialog box is displayed, enter your user name, password, and the server address.
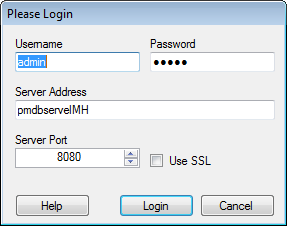 Tip: The Server Address is the name of a machine on your domain or an IP address for the server.
 - In the Primavera P6 Database Instance Selection dialog box double-click the desired Instance ID to select it.
- In the Primavera P6 Project Selection dialog box double-click the desired project file to open it.
- Use the Field Selector Dialog Box to override some of the predefined data import options.
TimeLiner connects to the selected project file.
Note: This procedure shows how to import data from a Primavera P6 project. Follow the same steps to import data from a Primavera P6 V7, V8 or V8.2 project, selecting the Primavera P6 V7, V8, or V8.2 options where applicable.
You are now ready to To Build Tasks from a Data Source.