This example shows how to create a composite curve from surface geometry. The result is a composite curve which is also an embedded pattern.
This uses the 5axis_with_holes.dgk model in the Examples folder.
- Click Pattern tab > Create panel > Pattern to create a new pattern.
- Click Pattern tab > Edit panel > Curve Editor to display the Curve Editor tab.
- Click Curve Editor tab > Create panel > Curves > Composite.
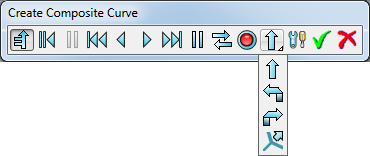
This displays the Create Composite Curve toolbar.

- Click
 on the
Direction
toolbar.

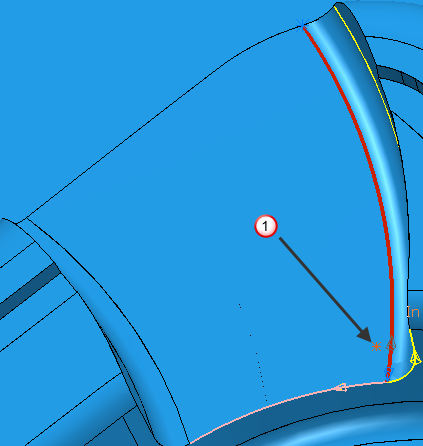
- Click on the surface near
 .
.

This selects the right edge of the surface.
- Red indicates the selected surface curve.
- Pink indicates the surface that automatic sketching follows.
- Yellow indicates an alternative surface.
- Grey indicates an alternative surface for the current curve. This is an option you are unlikely to use because it returns to the start point, but along the other surface. For more information, see Selecting curves to create a composite curve.
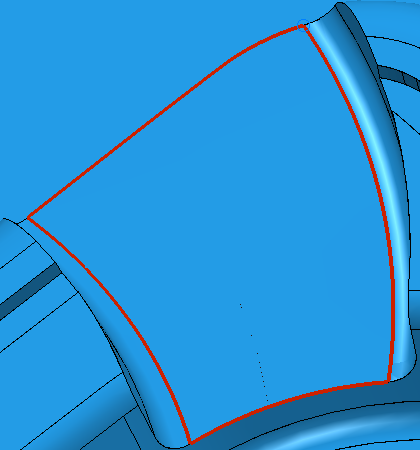
- Click
 on the
Create Composite Curve toolbar to create the automatic path.

Use the Esc key or click
 (next to the progress indicator) if you want to stop the composite curve creation.
- Click
 on the
Create Composite Curve toolbar.
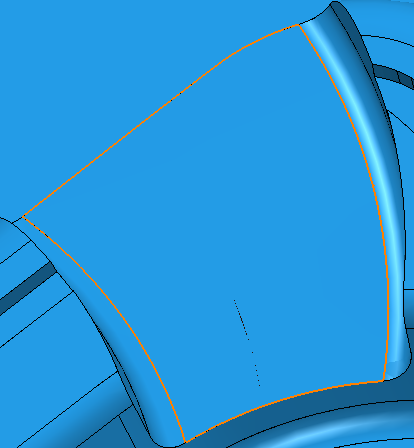
- Click Curve Editor tab > Finish panel > Accept.
This creates an embedded pattern which follows the surface edges.
