This example shows you how to create a shank for a specific tool.
- Right-click the tool in the Explorer.
- From the individual tool context menu, select Settings.
- Select the Shank tab from the Tool dialog.
- Click the Add Component
 button to add the first portion of the tool shank.
 - Enter the following values in the Dimensions area of the Shank tab:
- Upper Diameter — 15
- Lower Diameter — 15
- Length — 20
- Click the Add Component button again to add the second portion of the tool shank.
- Enter the following values in the Dimensions area of the Shank tab:
- Upper Diameter — 25
- Lower Diameter — 25
- Length — 20
To edit individual shank components, in the Components area, select the portion of the shank you want to edit. The selected portion turns pale green and the values are displayed in the Dimensions area for editing. To delete an individual shank component, in the Components area, select the shank component that you want to delete, and click the Remove Shank Component
 button.
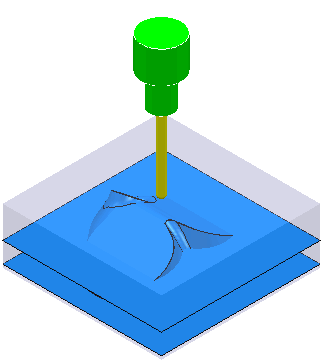
 - Click Close. The tool and tool shank are displayed in the graphics window: