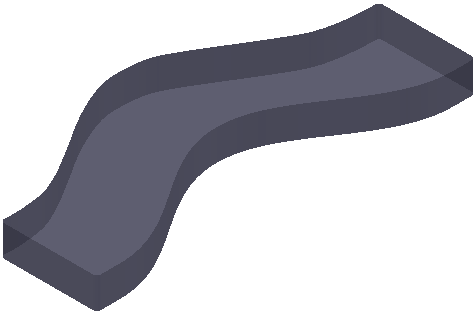
This example looks at editing a block graphically. The block was created from a boundary or a picture.

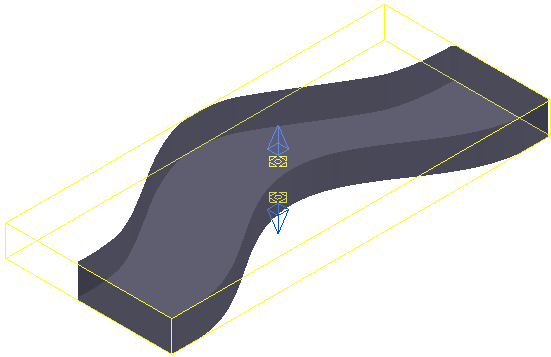
- Double-click on the block. This displays an instrumented block and the Block Editor tab.

A yellow cuboid is placed round the block and
 placed at the top and bottom of the block.
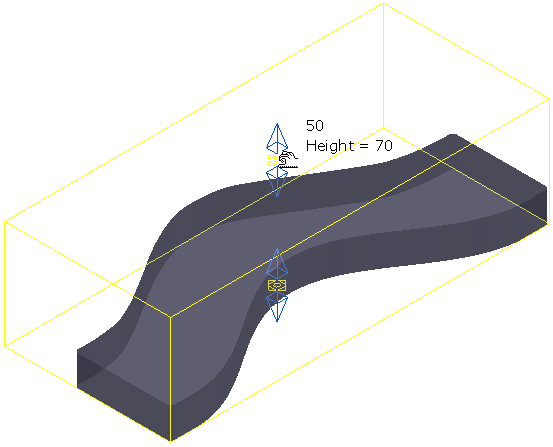
 - To change the height of the block, place the cursor on one of the blue arrows. The cursor changes to
 . Click and drag the mouse to change the height. The text next to the cursor shows the current height (in this case 70) and the increase in height (in this case 50).
Holding down the Shift key whilst clicking and dragging a blue arrow moves the opposite face at the same time.
- To move the block, place the cursor on one of the yellow edges of the block. The cursor changes to
 .
. - Click and drag the mouse to move the block.
You can move the block only up or down the Z axis.
An alternative way to move the block is to place the cursor on one of the yellow spheres and then click and drag the mouse.
If intelligent cursor is enabled, you can adjust the position by snapping to relevant geometry. This snapping is only available for moving the block and not for resizing it.