The Snapshot mode enables you to annotate your snapshots.
- Adjust the CAD view of the model to the required size and orientation.
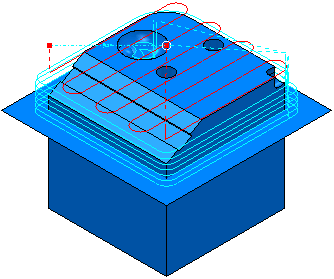
- From the individual NC Program context menu, select Setup Sheets > Snapshot > Enter Snapshot Mode. This displays the Snapshot tab and the background turns white.
- Click in the Graphics window. This displays the Edit Snapshot Annotation dialog.
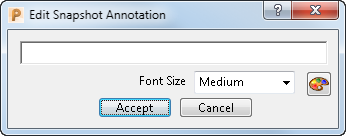
- Enter the relevant text, such as Area of interest, and click Accept. This adds the text to the graphics area.
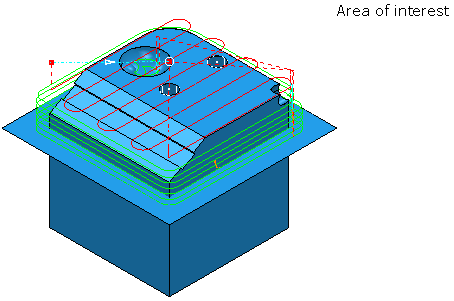
- Move the text by placing the cursor over it, the cursor changes to
 and drag it to the required position.
 - Draw a line by clicking and dragging in the graphics window.

- Click Snapshot tab > Snapshot panel > Take Snapshot > Save as ISO View.
This takes a snapshot of the current view and saves it as the ISO view snapshot. It does not take a snapshot of the ISO view (unless the current view is an ISO view).
- Click View tab > Views > From > Top (Z)
- Click Snapshot tab > Snapshot panel > Take Snapshot > Save as Top View
- Click Snapshot tab > Finish panel > Accept to close the Snapshot tab.