This example shows how to create a composite curve limited by marker points. You can have up to two marker points on any composite curve.
This uses an edited boundary generated from the 5axis_with_holes.dgk model in the Examples folder.
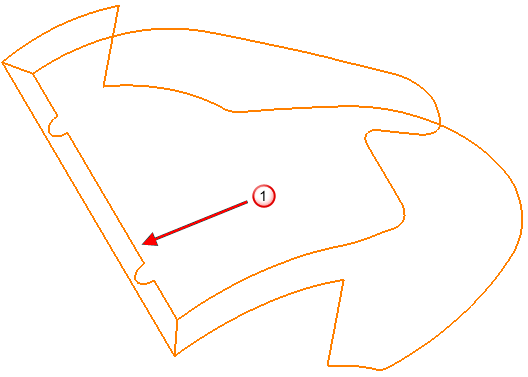
- Double-click on the curve, near point
 , to display the
Curve Editor tab.
- Click Curve Editor tab > Create panel > Curves > Composite to display the
Create Composite Curve toolbar.

- Click the first
Marker Point
 button.
- Click the curve near point
 . This places a red circle at the selection point.
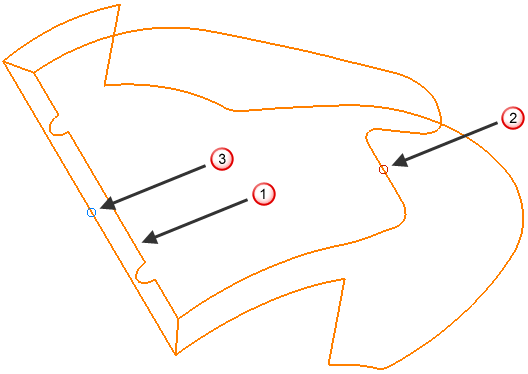
To remove the marker point, click the first Marker Point
 button and then click the marker.
If the circle is blue, you have selected the second Marker Point button, not the first.
- Click the second
Marker Point
 button.
- Click the curve near point
 . This places a blue circle at the selection point.
- Click the curve near point
 .
.
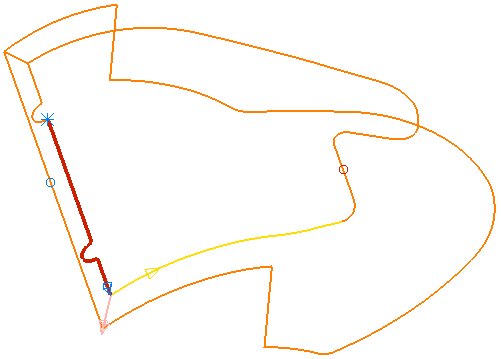
- Click the yellow curve. The composite curve creator goes as far as the first marker point,
 . It then reverses and continues to the next branch point,
 .
.
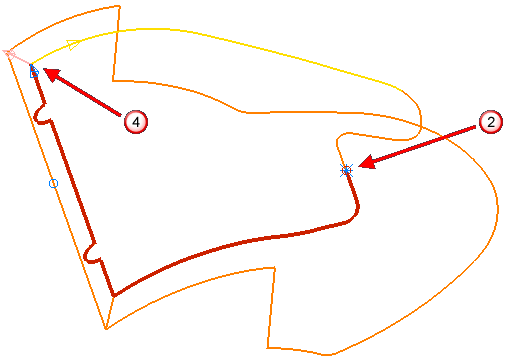
- Click the pink curve.
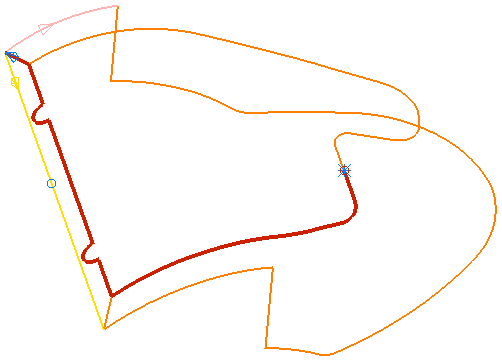
- Click the yellow curve. The composite curve creator goes as far as the second marker point and stops.
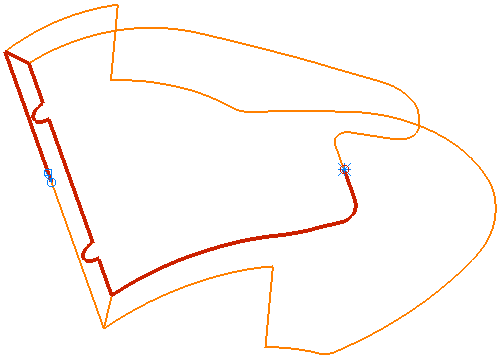
PowerMill ignores the marker point if you choose a route that does not meet the marker point.
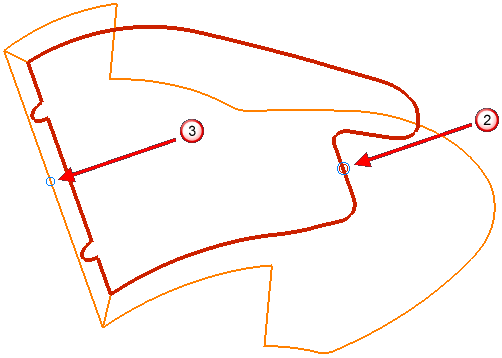
 The first marker point shows the start and end point of the closed composite curve.
 The second marker point, which is ignored.
- Click
 on the
Create Composite Curve toolbar.
- Click Curve Editor tab > Finish panel > Accept.