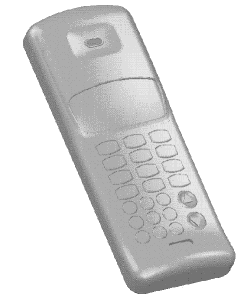
Select the Shaded option to apply shading and lighting effects so surfaces appear solid.
To use the Shaded option:
- Display the surfaces on the screen you want to shade.
- Select View tab > Appearance panel > Shade > Shaded. For example:

This is the same as clicking the
Shaded button
 on the Views toolbar.
The surface colours and lighting effects highlight bumps, creases or ripples in a surface. This allows you to better visualize how the final product will look. The effects change as you rotate the image.
The shading is achieved by filling the surface with shaded triangles of varying colour and brightness to represent the solid surface. PowerShape automatically chooses triangle sizes which best suit the model being shaded. However, where surfaces meet, gaps can appear between the triangles. This tendency can be minimized by changing the shaded surface options.
For further details see Shading options.