The Non-inserted core/cavity plates option creates impressions directly into the core and cavity plates, without using separate inserts.
- Specify the core and cavity plates:
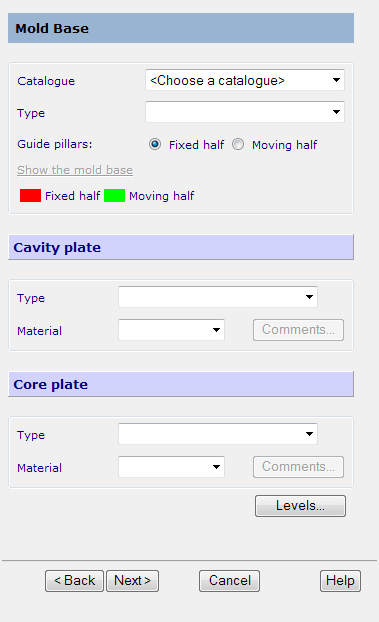
- Catalogue — Choose a catalogue from the drop-down list. Toolmaker then determines the best size for the mold base from the catalogue and displays the values.
- Type — Select the type of mold base.
- Guide pillars — This option selects which half contains the guide pillars. You can choose Fixed half or Moving half.
- Cavity plate — Select the Type and Material of cavity plate which is available from the catalogue.
- Core plate — Select the Type and Material of core plate which is available from the catalogue.
- As you select the plates, they are drawn on the screen. The fixed half is red and the moving half is green (using the default colour scheme).
- Levels — This allows you specify on which level to put each component of the mold base.
As you select the plates, they are drawn on the screen. The fixed half is red and the moving half is green.
- Click Next to display the page to specify the position of the inserts in your cavity and core plates.
- If no plates are registered, click Run Mold die wizard to start up the Mold die wizard and use it to create the required plates. It will automatically use the standard plates sizes. If you want to use custom plates, change the sizes of the plates in the wizard.
- If you want to create slides, click Insert slide mechanism to start the Slide wizard. Use the wizard to create slides.
- Click
Next to display the following page.
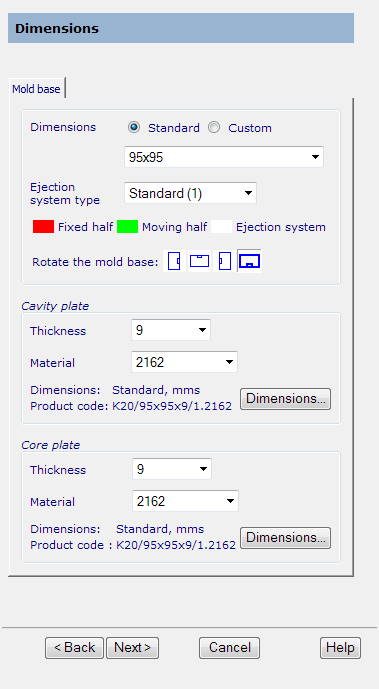
If you click the Dimensions button, you can see a preview of the ejector footprint and holes in the core and cavity plates in the graphics window,
- Click
Next to display the following page.
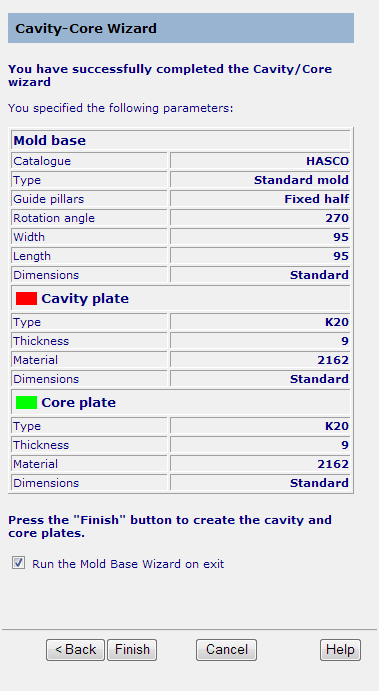
- Check your parameters. Click Back if you want to change the values.
- If you want to run the Mold Base Wizard after the cavity and core plates are created, select the Run the Mold Base Wizard on exit option.
- Click
Finish to create the cavity and core plates.
Each plate contains split surfaces and guide pillar/pin holes. The plates are created in an assembly.