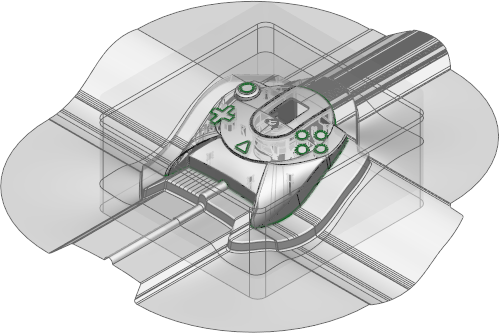
To use the Mold Die Wizard to create a mold as shown below:
- Click Wizard tab > Part Splitting panel > Die to start the Mold Die Wizard.
- Use the first page of the wizard to select the objects to be used to create the mold.
- Use the second page of the wizard to create and edit the split lines.
- Use the third page of the wizard to create and edit fill-in surfaces.
- Use the fourth page of the wizard to specify the product shrinkage.
- Use the fifth page of the wizard to specify the block size.
- Use the sixth page of the wizard to create the split surface.
- Use the seventh page of the wizard to specify the block heights.
- Use the eighth page of the wizard to specify the corner types.
- Use the ninth page of the wizard to simulate the opening of the core/cavity.
When using the Mold Die Wizard:
- You can supply two sets of split surfaces to the wizard:
- one to be used for the core insert
- one for the cavity.
This allows you to build relief into regions of the mold so that pressure can be increased at vital points of the split surface. To use this functionality, the two sets of split surfaces must be supplied as two solids, otherwise the wizard will assume that you only have one set of surfaces.
If you supply a mixture of solids and surfaces, the wizard assumes that the surfaces are common to both inserts. Solids will be analyzed to see if they form a cavity/core pair with another solid. If so, one of the solids will be part of the core split surface and the other solid will be part of the cavity split surface. If a solid split surface cannot be paired, then it is assumed to be common to both inserts.
- You can leave the wizard at any time by clicking the Finish button on the wizard. You can modify your data manually and start the wizard again.
- If you exit
Mold Die Wizard without splitting the mold, the messages that are displayed reflect the functionality that you have been using.
For example:
- Shrinkage has not been applied — if you specified shrinkage.
- Stepped surfaces are output as solids —if stepped surfaces were created.
- Toolmaker will only recognize complete inserts named DW_CORE and DW_CAVITY — if the Mold Die Wizard was run from Toolmaker.
You can select the objects that the wizard has already created and re-run the wizard.
- You can click the Back button on any page of the Wizard (except the final page) to edit settings in previous steps.