Click File > Print > Print Set-up to adjust the print settings using the Page Setup dialog:
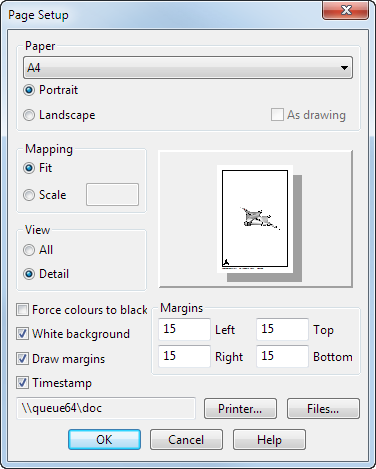
Paper
These options enable you to choose the size of the paper.
- Portrait — Orientate the image on the paper so that the height of the paper is greater than its width.
- Landscape — Orientate the image on the paper so that the width of the paper is greater than its height.
- As drawing — This option is selected by default if you are in drafting mode. PowerShape selects the best paper size to suit the drawing from those available on the selected printer. As drawing is not available in modelling mode.
A preview image is shown on the dialog.
Mapping
These options fit your image onto the paper.
- Fit — Scale the image to the size of the paper chosen.
- Scale — Scale the image to fit a specified size.
View
These options determine what is printed from the model or drawing window.
- Detail — Print only the visible part of the screen.
-
All — Print the whole model or drawing.
When using Draft tab > Drawing panel options, the default is All, which maps the whole drawing onto the paper. Otherwise, the default is Detail, which maps only the visible part of the model in the graphics window onto the paper.
Margins
This gives the values to offset the margins from the edge of the paper.
Force colours to black — Print all coloured objects as black.
White background — Print the background as white. White objects are printed as black.
Draw margins — Draw a border around the image using the Margins values.
Timestamp — Add the following to the image:
- Name of the model.
- Name of the drawing, if you are printing a drawing.
- Date and time the model was printed.
Printer — Open the Print Setup dialog, which you can use to change the current printer settings in PowerShape.
Files... — Open the Print to File Settings dialog. This is used to set the image size.
OK — Save any changes and close the dialog.
Cancel — Discard changes and close the dialog.