The Simulate core / cavity split page shows the model in the current shading mode, rather than in wireframe mode.
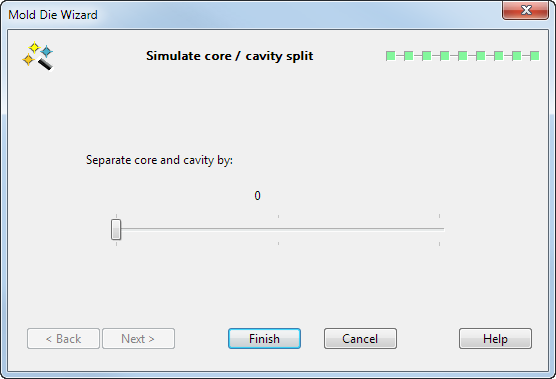
- Use the slider to split the die from the selected object. You can see the two halves moving in the graphics window. This is only a visual aid to examine the interior of the die.
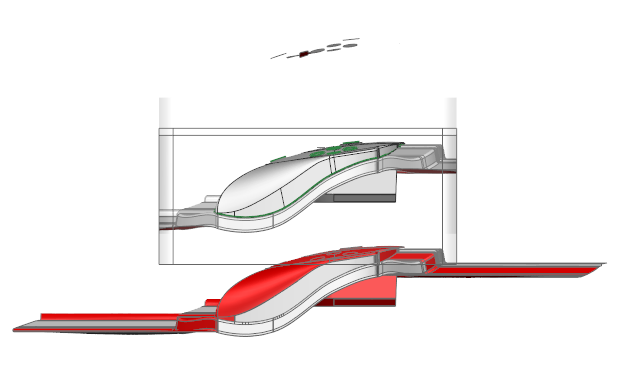
If you are only splitting the part, you will have two solids; one for the core and the other for the cavity.
- Click
Finish to save the die inserts. Inserts produced by
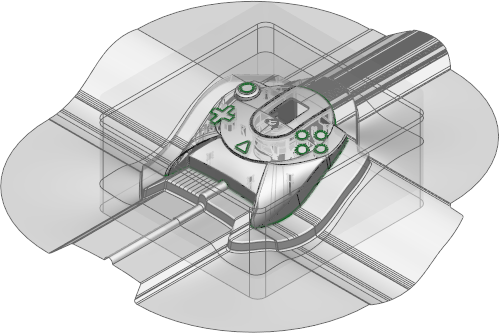
Mold Die Wizard use the following materials:
- Surfaces in shut out regions use Pastel10.
- Surfaces in the impression region use Pastel08.
- All other surfaces in the die block use mold_metal03.
The original solid is encased in the two halves of the die.
A table showing the sets of Cavity/Core/Inserts is displayed in the Creating Inserts section of the browser window. You can check the items by clicking on each
 icon in turn.

- You are now ready to create the cavity and core plates. Click
Next in the browser window.
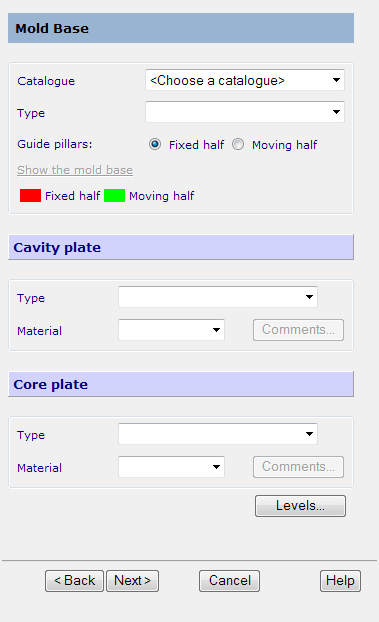
This displays the page from which you select the core and cavity plates from the catalogue.