The Create and edit split lines page lets you generate split lines.
 — This information string displays the current overall status of the split lines. There are four possible messages:
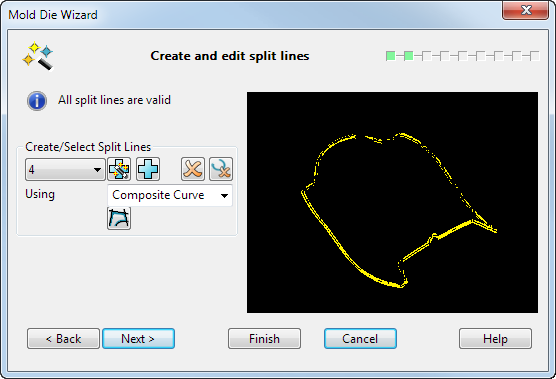
- All split lines are valid
- No split lines created
- Invalid split lines present
- Create/Select Split Lines
 — This selection box displays additional information for the user regarding the validity of the split line.
- If a split line is invalid, (invalid) is displayed next to the number of the split line.
- If a new selection is added that is yet to be defined, (new) is displayed next to the number of the split line.
 — Attempt to generate split lines automatically. If you enter the wizard with no split lines, the wizard will auto-generate them for you when you select
Next on the first page of the wizard.
— Attempt to generate split lines automatically. If you enter the wizard with no split lines, the wizard will auto-generate them for you when you select
Next on the first page of the wizard.
 — Add split line/surface selection. This adds another selection option to the
Create/Select Split Lines drop down list.
— Add split line/surface selection. This adds another selection option to the
Create/Select Split Lines drop down list.
 — Delete split line/surface selection. Delete the split line selection that is currently shown in the
Create/Select Split Lines drop down list. Other split line surface selections will be renumbered if necessary.
— Delete split line/surface selection. Delete the split line selection that is currently shown in the
Create/Select Split Lines drop down list. Other split line surface selections will be renumbered if necessary.
 — Delete all invalid split lines. If a curve is not closed, clicking this button will delete all the open curves and the empty selections.
Using — Use this drop-down list to choose the method to be used to create the split line.
-
Composite Curve - Create the split line using a composite curve. You can manually create the composite curve by clicking
 .
.
- Surfaces — Create the split line by selecting surfaces.
The Picking and Edit Split Line options below are only available if Surfaces was chosen from the Using drop down list.
Picking — select Hole or Single Face from the drop-down list.
-
Hole — automatically selects concave regions. You can automatically select holes in side walls by selecting
Surfaces, then
Hole and clicking the
button.
- Single Face — selects individual faces in the solid.
Edit Split Line — The Undercut
and optionshave been grouped in this section. These options are only visible if you select the
Surfaces
option in the
Using
drop down box in the
Create/Select Split Lines
section.
optionshave been grouped in this section. These options are only visible if you select the
Surfaces
option in the
Using
drop down box in the
Create/Select Split Lines
section.
-
Undercut — This option allows you to indicate if a hole is an undercut andcontrols how the split is simulated in
Mold Die Wizard Step 9.
- Select Undercut to move the surface outwards when simulating the slide movement
- Deselect Undercut to leave the surface in position when simulating the slide movement
— Use this button to toggle the end of the hole that is selected.
Next — Displays the Create and edit fill-in surfaces page of the Mold Die Wizard.
Finish — If you select this option, and you previously selected the Split product only option on the previous page, the part is not split and the Mold Die Wizard closes. Splitting occurs after you have specified the product shrinkage.