You can create a label from an image file and wrap it onto a shaded object as follows:
Note: The availability of this feature is license dependent.
- Select the model and click View tab > Appearance panel > Shade > Shaded, or click the Shaded
 button on the Views toolbar, to shade the model.
- Select the surfaces or solids you want to wrap a label onto.
- Click Visualisation tab > Format panel > Labels:
- If no labels are available, the
Image Selector dialog is displayed so you can select an image for the label:
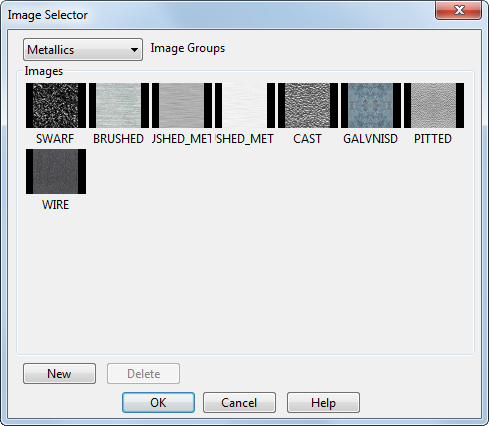
You can also create new image groups and delete selected images from the User group.
To select an image to use as a label:- Select an option from the Image Groups list. This list contains the types of images available such as wood, metallic and woven. When you select an image group, the images for that group are displayed on the dialog.
- Select an image to use as a label by clicking one of the preview buttons in the Images area.
- Click OK to create a label from the selected image and wrap it onto the selected objects. The Label Editor dialog is displayed. Use the following buttons on the dialog to specify the contents of the User image group:
- Click New to open the Load Image File dialog for you to select a new image file to put in the selector. When you add your own image, it appears in the User image group.
- Click Delete to remove the selected image from the User image group.
Note: The images in the User image group are only available in the current PowerShape session. The image is stored temporarily in the model while you are working on it. - If labels are available, the Label Selector dialog is displayed so you can select a label to add to the objects.
You can edit the label on an object, for example by changing its image, or remove the label. If other objects use the label, some edits will change the appearance of those objects too. For example, changing the label's image will affect all objects using that label.
To edit a label on an object:
- Select the object.
- Click Visualisation tab > Format panel > Labels. The Label Selector dialog is displayed.
- Use the Label Selector dialog to edit the label.