To create a linear dimension by selecting a line, arc or circle:
- Click Annotation tab > Dimension panel > Automatic.
The Dimension toolbar is displayed. This can be used to edit attributes of the new dimensions, such as the annotation text.
- Select a line, arc or circle.
Ensure you do not click a key point on the selected object. If you click a key point by mistake, PowerShape assumes you want to create an automatic dimension between two positions, and displays a rubber band line from the position to the cursor. To continue, start from step 1 again.
Note: Midpoints are not treated as key points. - Move the cursor and click to specify the position of the annotation and add the dimension.
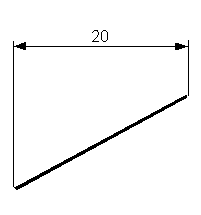
- For a line, a vertical or horizontal dimension is created depending on where you input the annotation position. Possible horizontal and vertical dimensions are displayed as you move the mouse.
Horizontal dimension:
Vertical dimension:
 Tip: If you want the true dimension of the line, click the Parallel dimension
 button on the
Dimension toolbar.
button on the
Dimension toolbar.
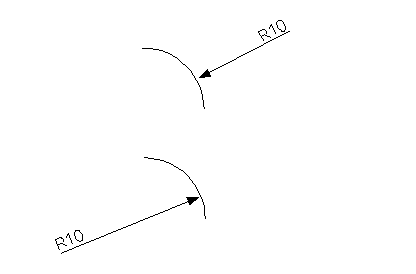
- For an arc, the dimension of the radius is created.
The annotation position determines where the dimension text is drawn:
- For a circle, the dimension of the diameter is created.
The annotation position determines whether the text is drawn inside or outside the circle:

- For a line, a vertical or horizontal dimension is created depending on where you input the annotation position. Possible horizontal and vertical dimensions are displayed as you move the mouse.