Use the Radial Cut feature to create a pocket in a solid that can be milled on a turn-mill machine.
To create a radial cut feature:
- Create a workplane on the solid that is centred along the axis of revolution.
- Select the solid and click Solid tab > Feature panel > Cut > Radial Cut.
The Radial Cut Wizard is displayed:
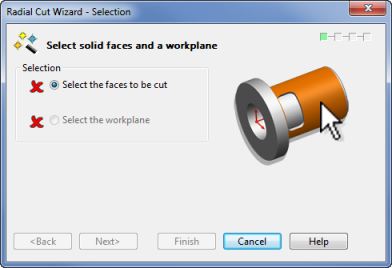
- Select the cylindrical faces to cut, and the workplane created previously, then click
Next.
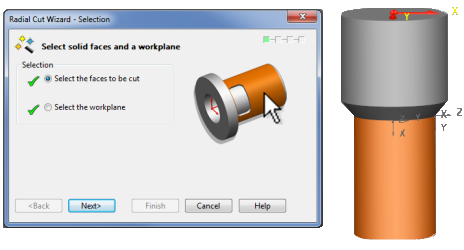
- Use the
Add or Remove Guidelines page of the wizard to insert extra angle guidelines.
- Enter an angle into the
Angle box
 , and press
Enter to insert a guideline.
- Select an angle from the
Angle
box
 , and click
Delete to remove a guideline.
Tip: Guidelines are useful as markers when sketching the wireframe used to cut the solid.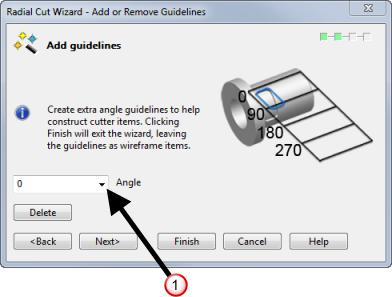
- Enter an angle into the
Angle box
- Click
Next to display the
Cutter Item Selection page of the wizard. Use this page to define the shape of the cutting object.
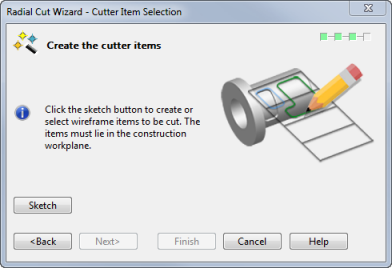
- Click
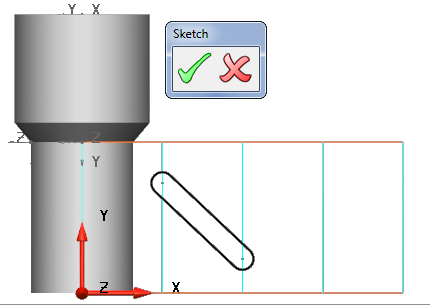
Sketch to hide the wizard and enter a sketching mode. Use the sketching mode to:
- create new wireframe, where appropriate.
- select new or existing wireframe.
- Use
 to select any wireframe to use as a cutting object.
- Click
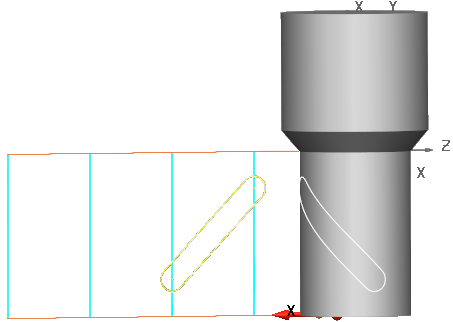
 to re-open the wizard and display a projection of the wireframe onto the model. Alternatively click
 to discard the wireframe and return to the wizard.
- Click
Next to display the
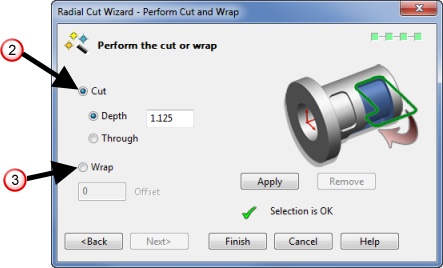
Perform Cut and Wrap page of the wizard with the following options:
- Select
Cut
 to use the wireframe as a cutting object. Specify the cutting distance using:
Depth — Enter a numerical value to define the cutting depth.
Through — Cut through to the cylinder centre-line.
- Select
Wrap
 to draw the wireframe onto the model, without cutting into the solid.
Enter a value into the Offset box to move the wrapped wireframe away from the solid.
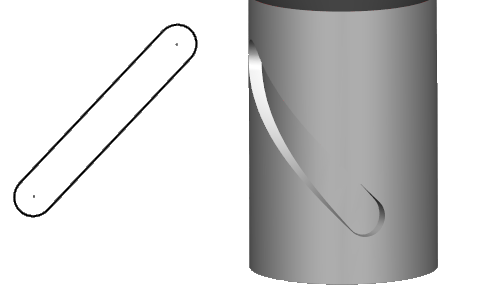
- Click Apply to perform the cut or wrap.
- Click Remove to undo a cut or wrap.
- Select
Cut
- Click
Apply to perform the cut or wrap.
- Click Finish.