The Create and edit fill-in surfaces page creates and controls the fill-in surfaces:
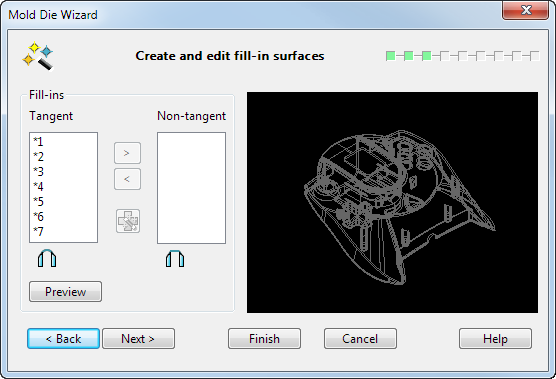
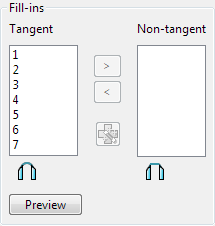
Fill-ins — This section lets you select the fill-in lines that define the fill-in surfaces to be created and edited.
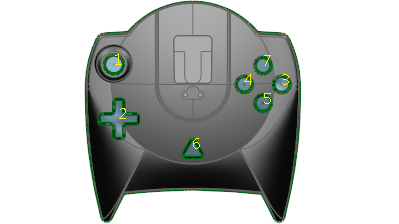
The fill-in lines on the model are numbered; these numbers correspond to the numbers that are displayed in the Tangent and Non-tangent lists:
Tangent
 — The fill-in lines in this list, have a fill-in surface that is tangent continuous to the surrounding surfaces.
Non-tangent
 — The fill-in lines in this list, have a fill-in surface that is tangent non-continuous to the surrounding surfaces.
Fill-in lines can be moved between the two lists using the arrow buttons. When a fill-in line is moved to another list it is marked with '*', which means that its current fill-in surface is not yet updated.
You can move multiple lines by using
Shift-click
 and
CTRL-click
and
CTRL-click
 to select the required items.
 — Select this option to recalculate the surface tangency of the selected fill-in line
Preview — Preview the fill-in surfaces. Fill-in lines that were previously marked with * will then have the * removed.
Back — Returns to the Create and edit split lines page of the Mold Die Wizard.
Next — The fill-in surfaces are applied and the Define product shrinkage page of the wizard is displayed.
Finish — If you select this option at this point you will exit from the Mold Die Wizard, keeping any changes that you have made up so far.