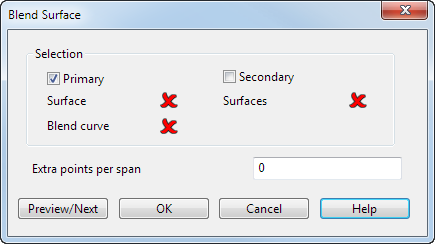
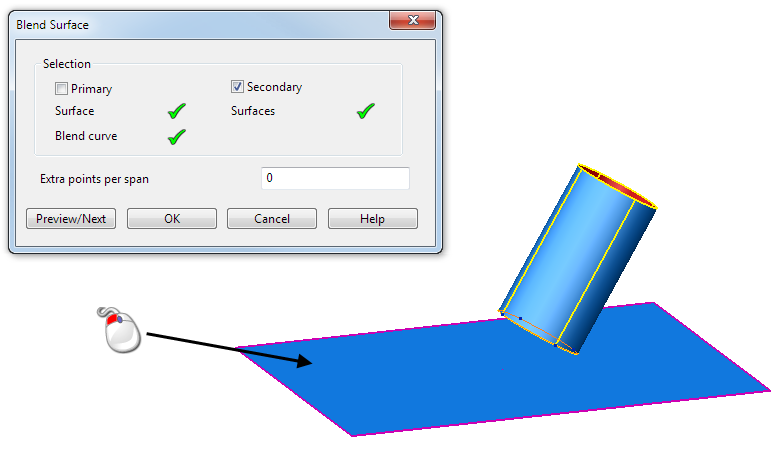
A blend surface creates a smooth join from one surface onto a group of surfaces. It tangentially leaves the first surface and joins the group of surfaces to ensure a smooth transition between them:
- Click Surface tab > Manufacture panel > Blend to display the Blend Surface dialog.
- Use the dialog to create the blend surface:
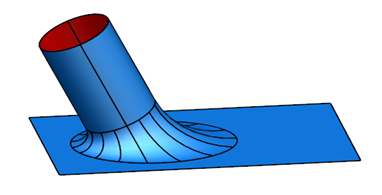
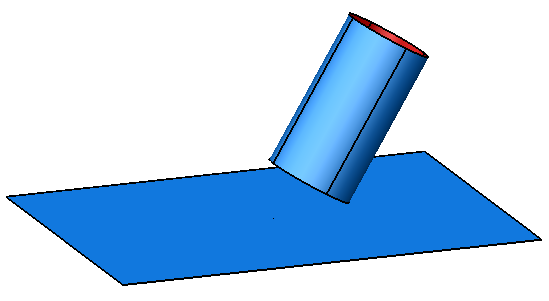
For example, consider the following surfaces:
Selection — Select the surfaces to blend:
-
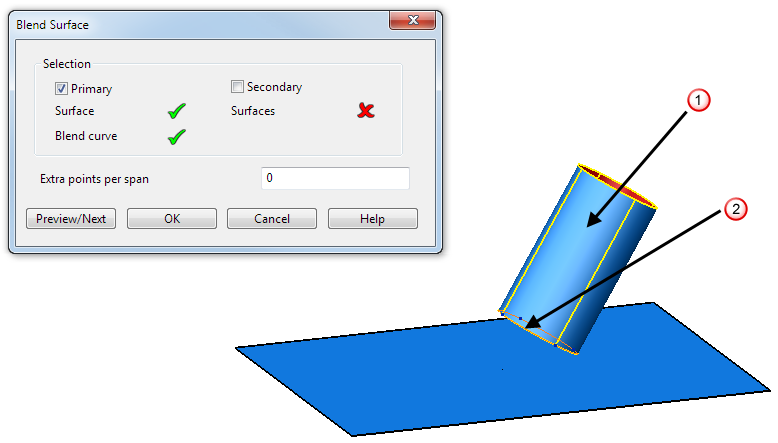
Primary — This is used to select the surface to blend from and one of its curves from where the blend surface starts. Select the surface you want to blend from
 and a curve
 .
.
-
Secondary — This is used to select the group of surfaces to blend onto. Select this option, and select one or more surfaces.
-
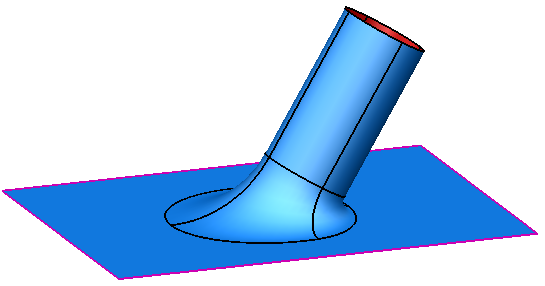
Extra points per span — The blend curve defines one of the end curves on the blend surface. You can add extra points on each span of this end curve.
In the example below, no extra points per span are added to the blend:
In the next example, three extra points per span are added to the blend:
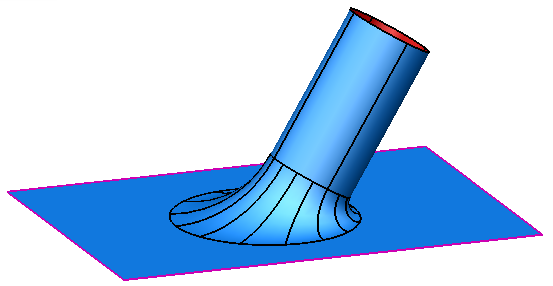 Note: With no extra points per span, the blend surface is created to tolerance and extra points may be added. If you specify a value other than zero, you restrict the number of points per span to that value and the blend surface may not be to tolerance.
The number of points chosen should reflect the complexity of the surfaces being blended on to. If the surfaces are smooth, you'll get a good match with relatively few points. On the other hand, if the surfaces are convoluted, corrugated, or lumpy, you'll need a correspondingly greater number of points to achieve an adequate surface match.
- Preview/Next — This displays the blend surface as defined on the dialog. If you change the selection of objects or the number of Extra points per span and click this button, the preview of the blend surface is updated. If you click this button without making any changes, the next solution of blend surface is displayed. This blend surface tangentially leaves the blend curve in the opposite direction to the first solution.
Note: The curve can be any curve on the surface, not necessarily the end curve. -
Primary — This is used to select the surface to blend from and one of its curves from where the blend surface starts. Select the surface you want to blend from
- Click OK to create the blend surface and close the dialog.