When you attempt to add a drawing created in an earlier version to a project you created with the current version, the Drawing Migration wizard starts. Migration occurs only for the drawing you are adding to the project. You can create a backup during migration in case the drawing requires further editing in the earlier version. If you cancel the drawing migration process, the drawing returns to its original state.
The migration process can change the way drawings look. The drawing may appear different due to changes in symbols and settings in the current version.
If you try to migrate a drawing that has the same file name as a drawing in the current project, a naming conflict message is displayed. You can either migrate the drawing with an assigned new name or stop migration.
- In the Project Manager toolbar, click Copy Drawing to Project.
- In the Select Drawings to Copy to Project dialog box, navigate to the folder that contains the drawing you want to migrate.
- Click the drawing file. Click Open.
The Drawing Migration wizard starts.
- Verify that the drawing file is closed.
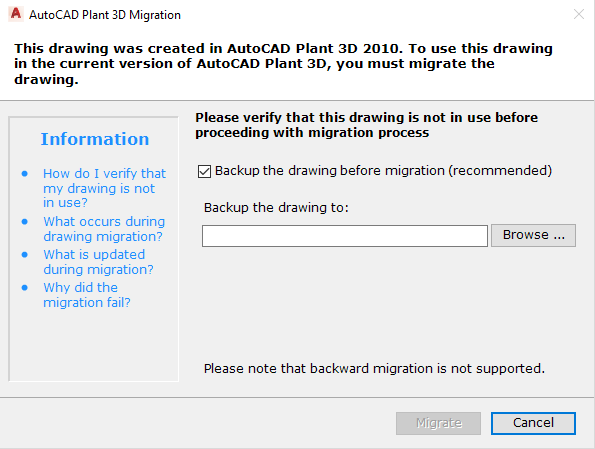
- On the Drawing Migration Launch page, select Backup the Drawing Before Migration (Recommended), if it is not already selected. Note:
It is recommended that you backup your drawing in case it requires further work in AutoCAD P&ID 2011.
- Click Browse and specify a location to store the backup file.
- Click Migrate. The Drawing Migration Progress page indicates the progress of the migration.
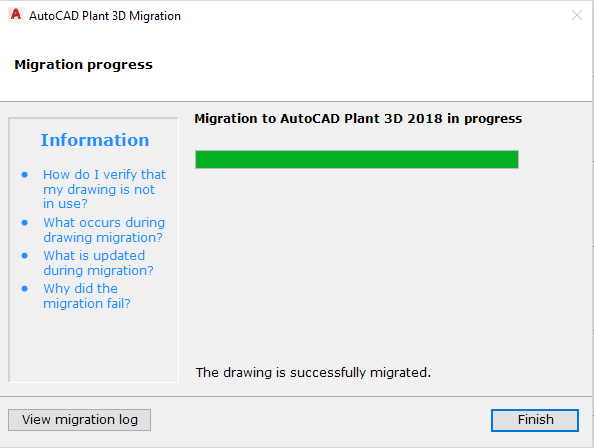
- Click Finish. The drawing opens in your AutoCAD P&ID project.