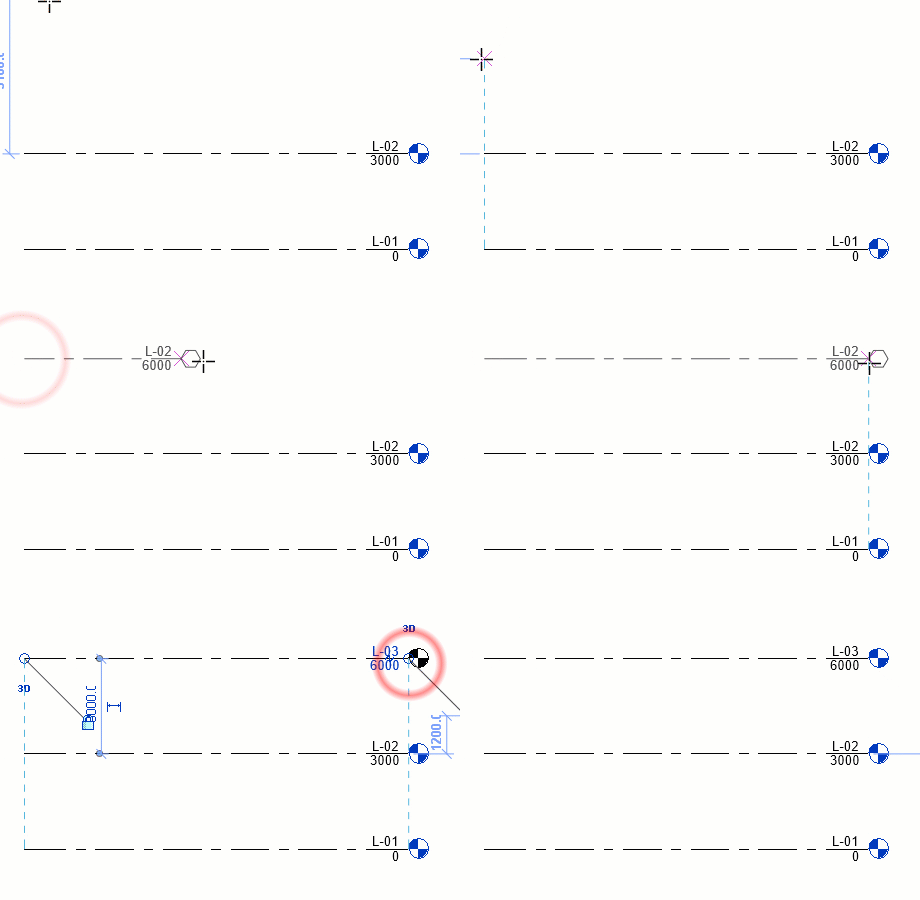
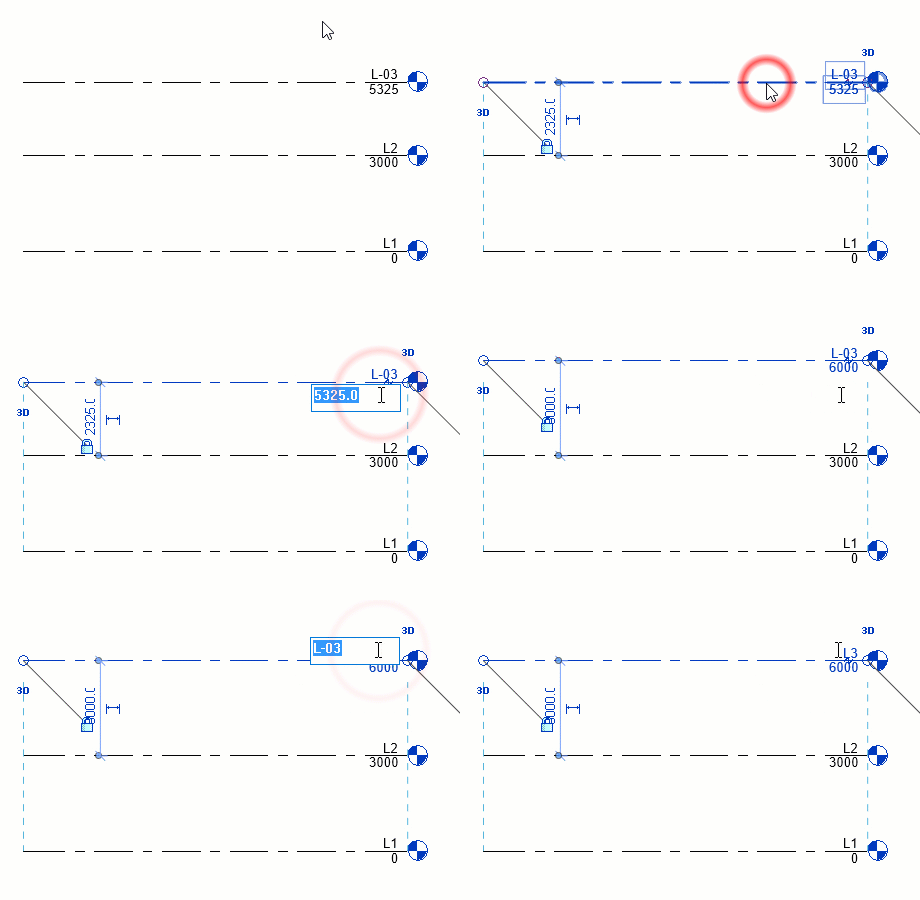
In addition to creating a level for each story in a building, you can also create reference levels, such as sill level.
- Open the section or elevation view to add levels to.
- On the ribbon, click
 (Level).
- Architecture tab
 Datum panel
 (Level)
- Structure tab
 Datum panel
 (Level)
- Architecture tab
- Place the cursor in the drawing area and click.
Note: As you place the cursor to create a level, if the cursor aligns to an existing level line, a temporary vertical dimension displays between the cursor and that level line.

- Draw level lines by moving the cursor horizontally.
On the Options Bar, Make Plan View is selected by default. As a result, each level you create is a story level and has an associated floor plan view and a reflected ceiling plan view. If you click Plan View Types on the Options Bar, you can choose to create only the view types that you specify in the Plan View Types dialog. If you clear Make Plan View, the level is considered to be a non-story level or a reference level; no associated plan view is created. Walls and other level-based elements can use reference levels as their top or base constraint.
As you draw level lines, the heads and tails of the lines can align to one another. When you select a level line that is aligned with others, a lock appears to show the alignment. If you move the level line horizontally, all aligned level lines move with it.
- Click when the level line is the correct length.
You can change the name of the level by clicking the number to select it. You can also change the height of the level by clicking the dimension.

Revit assigns the label (for example, Level 1) and the level symbol
 to the new level. Use the Project Browser to rename the level, if desired. If you rename the level, you are asked if you would like to re-name corresponding plan views as well. See
About Renaming Corresponding Levels and Views.