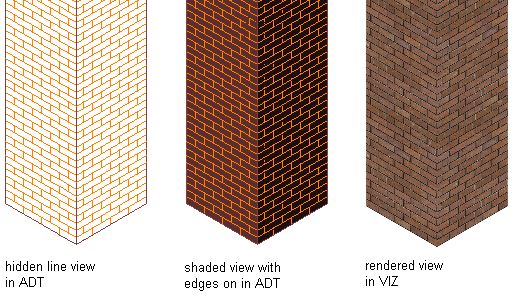
A material in AutoCAD Architecture 2023 toolset corresponds to a specific finish material in a building model, such as brick, concrete, or glass. Materials are useful for illustrating plans, sections, elevations, and renderings in the design process. Materials also provide a way to manage the display properties of object styles.

Viewing a building model corner showing materials
Simplifying the Design Process
Using materials makes displaying objects more realistic. You define the display of a material, such as brick or glass, only once in the drawing or the drawing template, and then assign it to the component of an object where you want the material to display. For example, you can define a material “Glass” and then assign it to any number of windows, glass door insets or cubicle walls. You typically assign materials to components in the style of an object, such as the brick in a wall style. Then, whenever you add a wall of that style to your drawing, the brick of that wall displays consistently.
Defining materials in an object style can provide control for the display of objects across the whole project. When the characteristics of a material change, you change them just once in the material definition and all objects that use that material are updated. With the material tool you can apply a material to a single instance of the object.
Visual Styles and Render Materials
You can take advantage of Visual Styles, Rendering Materials, Lights, and Cameras in AutoCAD Architecture 2023 toolset. In Content Browser, a Visualization catalog lets you access a number of predefined tools for lights, rendering materials, cameras, and visual styles.
Predefined Materials
AutoCAD Architecture 2023 toolset provides a number of predefined material definitions for common design purposes, making it easy for you to start with new drawings. You can use these predefined material definitions “as is” or modify them to fit your designs. You can also create your own material definitions. Object styles provided with the software already have material definitions assigned to them.
Surface Hatching
Materials provide the ability to assign surface hatches to objects. Surface hatches can be displayed in model, section and elevation views. You can control the placement and orientation of the hatch for each object face.
Section Hatching
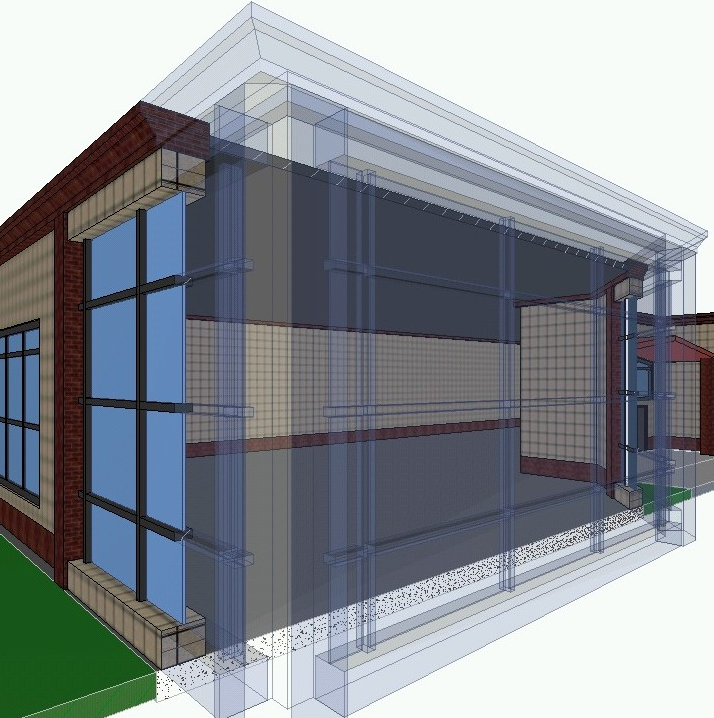
Materials are helpful to clearly illustrate sections and elevations. The section hatch is specified independently of the surface hatch. Special material components allow a realistic or schematic display of rendered live section views, section cuts, and section bodies.

Rendered live section view with transparent outside material
Material Tool
You create a material tool from a material definition. You can then use this tool in the same way that you would use any other tool in your project. This is the most efficient method of applying a material definition to an object or the component of an object.