Use this procedure to convert any of the following objects to walls:
- Lines
- Arcs
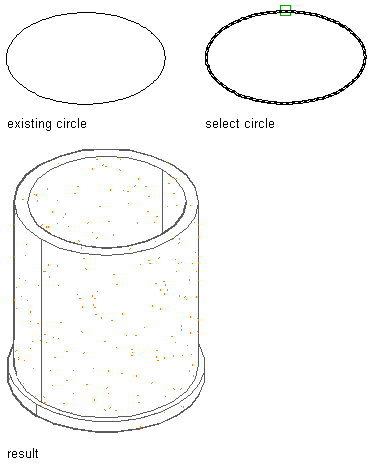
- Circles
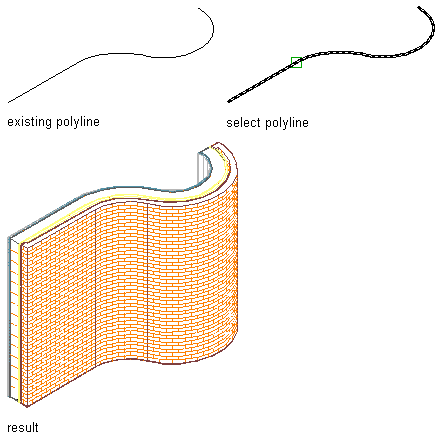
- Polylines
For example, you can create line diagrams or sketches of walls using lines, arcs, circles, and polylines to create the building exterior and rooms, and convert these objects to walls. You can edit the wall properties after creating the wall.
You can also convert 3D objects, such as mass elements into walls.
To Convert a Line into a Wall
- Right-click a wall tool, and click Apply Tool Properties to
 Linework.
 - Select the line to convert, and press Enter.
- When prompted to erase the original geometry, press Enter to retain the linework, or enter y (Yes) to erase it.
- Edit the properties of the new walls in the Properties palette, if necessary.

To Convert an Arc into a Wall
- Right-click a wall tool, and click Apply Tool Properties to
 Linework.
 - Select the arc to convert, and press Enter.
- When prompted to erase the original geometry, press Enter to retain the linework, or enter y (Yes) to erase it.
- Edit the properties of the new walls in the Properties palette, if necessary.

To Convert a Circle into a Wall
- Right-click a wall tool, and click Apply Tool Properties to
 Linework.
 - Select the circle to convert, and press Enter.
- When prompted to erase the original geometry, press Enter to retain the linework, or enter y (Yes) to erase it.
- Edit the properties of the new walls in the Properties palette, if necessary.

To Convert a Polyline into a Wall
- Right-click a wall tool, and click Apply Tool Properties to
 Linework.
 - Select the polyline to convert, and press Enter.
- When prompted to erase the original geometry, press Enter to retain the linework, or enter y (Yes) to erase it.
- Edit the properties of the new walls in the Properties palette, if necessary.

To Convert a 3D Object into a Wall
- Select the object you want to convert to a wall.
- Click

 . Find
 - Enter y (Yes) to erase the original object, or enter n (No) to retain the object.
- Specify the baseline of the wall:
If you want to … Then … specify the baseline of the wall by specifying the start point and the endpoint of the wall specify the start point, and then specify the endpoint when prompted. specify the baseline of the wall from an existing line or arc in the drawing enter p (Pick), and select the line or the arc you want to define for the baseline. Note: Specifying a baseline away from the object you are converting to a wall affects the insertion of anchored objects, such as doors, windows, and openings. Anchored objects are inserted in a wall relative to the baseline of the wall. - Select a wall style.
The wall style you select must be a single-component style.

Convert a 3D object, such as a mass element or an AutoCAD ACIS solid, into a single-component wall.