Multiple AutoLISP source and DCL files can be compiled into a single application file.
Tasks in This Topic:
Create an Application Make (PRV) File to Compile AutoLISP Source Files
- At the AutoCAD Command prompt, enter
makelispapp.
Note: If the MAKELISPAPP is an unknown command, change the value of the LISPSYS system variable to 1 and restart AutoCAD.
- At the Enter an option [Make/Properties/Rebuild/Wizard] <Wizard>: prompt, enter wizard.
- In the Make Application wizard, Wizard Mode page, click Expert. Click Next.
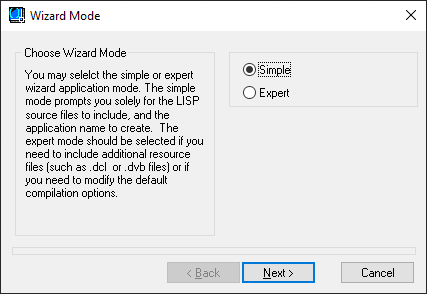
- Expert - Displays all possible application options.
- Simple - Suppresses the Application Options or Application Complication Options pages.
- On the Application Directory page, Application Location area, click Browse. Specify a location for the application and application make file.
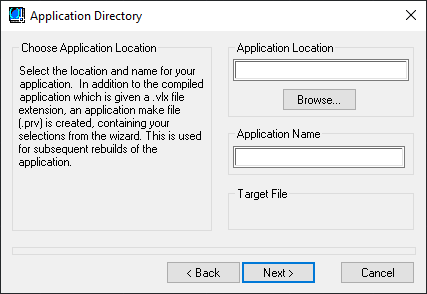
- In the Application Name box, enter a name for the application and application make file. Click Next.
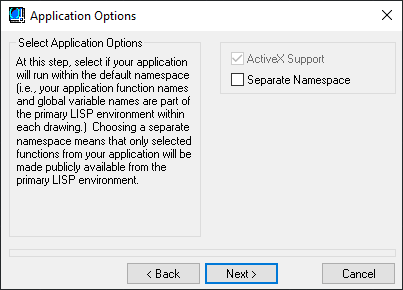
- On the Application Options page, select the application options you want to use when building the application. Click Next.
- On the LISP Files to Include page, click the Program Files Type drop-down list and select the type of files you want to add. Click Add and specify the program file to add, and then click Open.
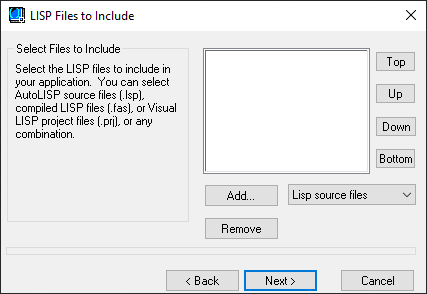
- Add additional files to the application as needed. Click Next.
Reorder the files in the list using the Top, Bottom, Up, and Down buttons. Select a file from the list and click Remove to remove it from the application.
- On the Resource Files to Include page, click the Resource Files Type drop-down list and select the type of files you want to add. Click Add and specify the resource file to add, and then click Open.
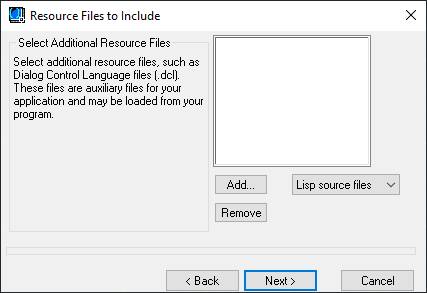
- Add additional files to the application as needed. Click Next.
Select a file from the list and click Remove to remove it from the application.
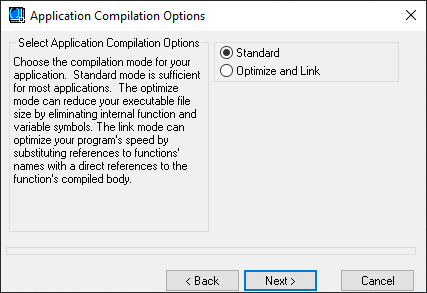
- On the Application Compilation Options page, select Standard or Optimize and Link. Click Next.
- On the Review Selections/Build Application page, click Finish.
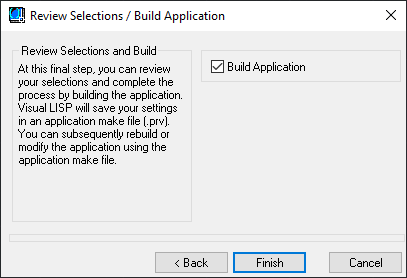
Clear the Build Application option if you do not want to build the application now. Based on your choice, the application make (PRV) file is saved and the application (VLX) file is built.
Change an Application's Definition
Settings used to build a Visual LISP application can be changed before rebuilding an application.
- At the AutoCAD Command prompt, enter
makelispapp.
Note: If the MAKELISPAPP is an unknown command, change the value of the LISPSYS system variable to 1 and restart AutoCAD.
- At the Enter an option [Make/Properties/Rebuild/Wizard] <Wizard>: prompt, enter properties.
- In the Choose Application dialog box, select an Application Make (PRV) file. Click Open.
- In the Application Properties dialog box, change the properties for the application.
- Click Apply to save the changes and keep the dialog box open, or click OK to save the changes and exit the dialog box.
Rebuild an Application (VLX) File
An Application (VLX) file can be rebuilt as long as you have access to the original project and source files.
- At the AutoCAD Command prompt, enter
makelispapp.
Note: If the MAKELISPAPP is an unknown command, change the value of the LISPSYS system variable to 1 and restart AutoCAD.
- At the Enter an option [Make/Properties/Rebuild/Wizard] <Wizard>: prompt, enter rebuild.
- In the Choose Application to Build dialog box, specify the location of your application's make file.
- Click Open to rebuild the application.
In rebuilding the application, AutoCAD recompiles all LSP source files, applying the specified compilation options, and packages your application files into a new VLX file. If your application contains many AutoLISP files, and you have only changed the source code in one or two files, the Make Application option can rebuild your application more efficiently.
Update an Application (VLX) File
An Application (VLX) file can be updated when the source or resource files are change.
- At the AutoCAD Command prompt, enter
makelispapp.
Note: If the MAKELISPAPP is an unknown command, change the value of the LISPSYS system variable to 1 and restart AutoCAD.
- At the Enter an option [Make/Properties/Rebuild/Wizard] <Wizard>: prompt, enter make.
- In the Choose Application to Make dialog box, select the application make (PRV) file to update. Click Open.