Create, edit, or remove commands using the Customize User Interface (CUI) Editor. You can also add new commands to pull-down menus, toolbars, and ribbon panels, or duplicate them to be displayed in multiple locations.
Display the Customize User Interface (CUI) Editor
- Click
 .
Find
.
Find
Create a command
- In the Customize tab, Command List pane, click the Create a New Command button.
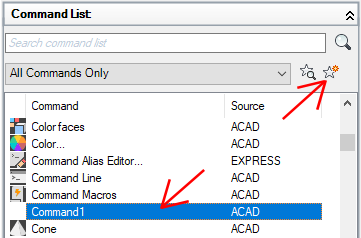
A new command (named Command1) is displayed in both the Command List and Properties pane.
- In the Properties pane, do the following:
- In the Name box, enter a name for the command. The value is used as the default name when added to a user interface element and as part of a tooltip.
- In the Description box, enter a description for the command. The value is displayed on the status bar or in a tooltip.
- In the Extended Help File box, enter the name of the file and ID to use for the extended help for the command.
- In the Command Display Name box, enter the name of the command that you want to display for the command.
- In the Macro box, enter a macro for the command.
- In the Tags box, enter additional strings to use when searching for commands in the Search box of the application menu.
- In the Element ID box, enter an element ID for the command.
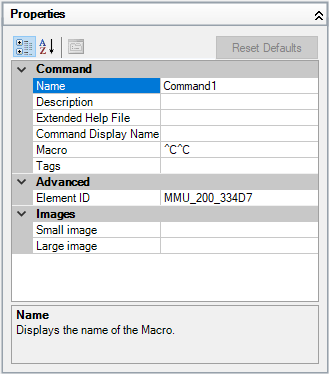
- Click Apply.
Remove a command
- In the Customize tab, Command List pane, select Custom from the Command Filter drop-down list.
The list is filtered to only show the user-defined commands that were added to the loaded customization files.
- Select the command to remove.
- Right-click over the command and click Remove.
Caution: There is no way to undo the removal of a command. If you accidentally remove the wrong command, click Cancel to exit the CUI Editor. Clicking Cancel will not save changes made in the CUI Editor since it was opened or the last time changes were applied.
Edit a command
- In the Customize tab, do one of the following:
- In the Command List pane, select a command.
- In the Customizations In
<file name> pane, locate and select a command under a user interface element.
- In the Properties pane, change the properties of the command.
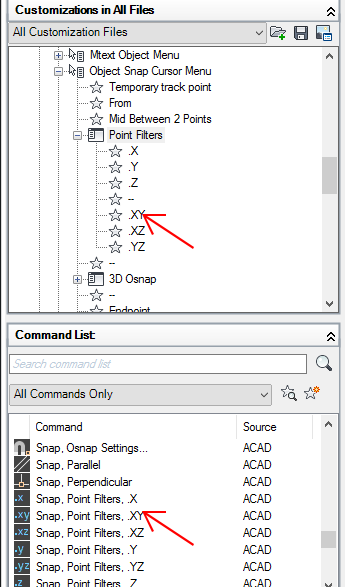
Add a command to a user interface element (Drag and drop)
- In the Customize tab, Command List pane, locate the command you want to add and drag it to a user interface element in the In Customizations
<file name> pane.
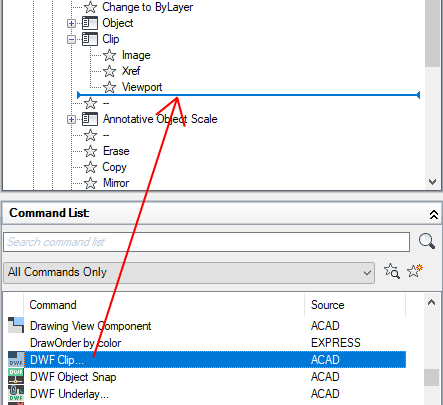
- When the horizontal indicator or arrow appears in the In Customizations <file name> pane, release the pointing device button.
Add a command to a user interface element (Copy and paste)
- In the Customize tab, Command List pane, locate the command you want to copy.
- Right-click the command and choose Copy.
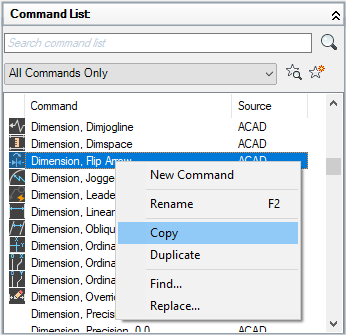
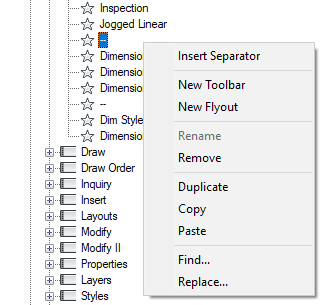
- Right-click a user interface element, like a ribbon panel or Quick Access toolbar, and click Paste.
 Note: The key combinations Ctrl+C and Ctrl+V can also be used to copy and paste commands.
Duplicate a command
- In the Customize tab, Command List pane, locate the command you want to duplicate.
- Right-click the command and click Duplicate.
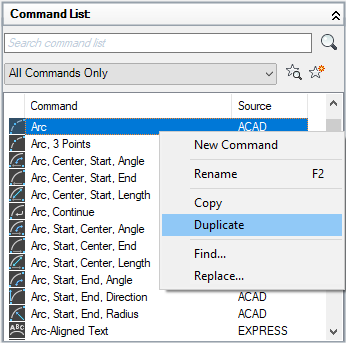
A copy of the selected command is created in-place directly above the selected command.
Note: The key combination Ctrl+D can also be used to duplicate a command in-place.