Use the Set Grade/Slope on Across Feature Lines command to edit the grade or slope between vertices on two or more intersecting feature lines.
To be considered to be intersecting, the feature lines must both have either a PI or an elevation point at their intersection. Prior to using this command, you can use the Insert Points at Crossing Locations command to insert PI points or elevation points on feature lines in the same site that cross each other.
Note: The intersecting feature lines do not need to be in the same site.
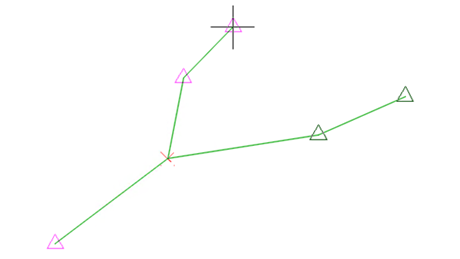
You must highlight the feature line connection point when you are selecting the points. A point is highlighted when you move your cursor over it to highlight the glyph symbol.
- Click
Modify tab
 Edit Elevations panel
Set Grade/Slope Across Feature Lines
Edit Elevations panel
Set Grade/Slope Across Feature Lines
 .
.
- Select one of the connected feature lines.
- Click to select the start point of the segment you want to edit.
Note: The start point cannot be the intersection of two feature lines.
- Optionally, specify the elevation of the start point by entering an elevation.
- Move your cursor over each of the points on the intersecting feature lines that you want to edit.
As you move your cursor over each point, the glyph is highlighted.Note: You must highlight all of the feature line connection points. When selecting the points, each intersection point where feature lines are connected needs to be highlighted or all of the desired segments will not be selected. For example, if you want to select the end point on a third feature line, you must highlight not only the first intersection, but also the intersection between the second and third feature lines.
- Click to select the end point of the segment to edit.
- Do one of the following to establish the grade or slope between the start and end points:
- Enter a grade.
- Enter Slope and specify a slope.
Tips for using the Set Grade/Slope Across Feature Lines command
- When selecting the points, each intersection point where feature lines are connected needs to be highlighted or all of the desired segments will not be selected.
- If you want to cancel the selection of a point, ensure that you hover the cursor above the point exactly.
- It is not possible to cancel the selection of the first point.
- If you enter the End Point option at the command line to select a different end point, you must first re-select all other points except the start point before selecting the new end point.
- It is not supported to use the Set Grade/Slope Across Feature Lines command on multiple feature lines that start and end at the same point, forming a closed loop.