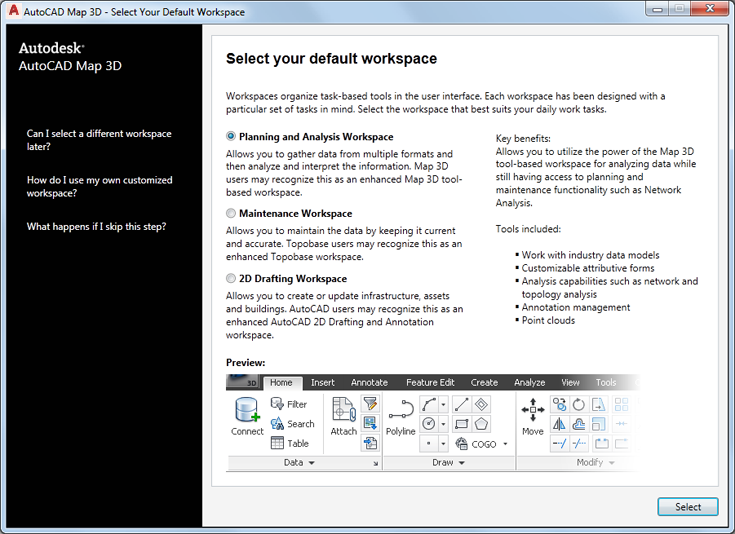
AutoCAD Map 3D toolset comes with predefined workspaces. Each workspace organizes and displays commands and toolbars differently. When you first start AutoCAD Map 3D toolset, you are prompted to choose your default workspace.
To change your default workspace
- Click .
- Select a different default workspace.
The next time you start AutoCAD Map 3D toolset, you will see the new default workspace.
You can customize any workspace, specifying the contents of the ribbon tabs, keyboard shortcuts, and how the mouse buttons behave.
To use Map Classic or a custom workspace as your default workspace
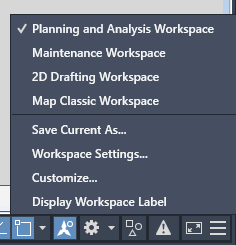
- Click the workspace entry in the Quick Access Toolbar or the status bar.
- Click Customize.
- Right-click the Map Classic workspace (or a custom workspace) and click Set Default.
- To use this workspace during the current session (in addition to making it the default), right-click it again and click Set Current.
- Click OK.
To switch workspaces during a session
- Click the workspace entry in the Quick Access Toolbar or the status bar.
- Select the workspace most appropriate for your work.
- 2D Drafting ribbon workspace — customized for those who are familiar with the AutoCAD ribbon and work primarily with drawing data.
- Planning And Analysis ribbon workspace — customized for AutoCAD Map 3D toolset commands. Most tutorials and videos assume that you are using this workspace.
- Maintenance ribbon workspace — customized for those using an enterprise industry model. When you open a drawing that uses this model, AutoCAD Map 3D toolset prompts you to switch to this workspace.
- Map Classic — the menu-driven interface from earlier versions of the product. Some new commands are unavailable from this workspace.
To continue this tour of AutoCAD Map 3D toolset, go to The Task Pane.