You can view the file name, size, density, depth, and type for an image you inserted. You can also view the date the image was created and modified, and the layer on which it resides.
In this exercise, you view information about the raster image in two ways. The second method displays some additional information, such as the width and height of the image.
Note: This exercise uses the
CITY.dwg map you used in
Exercise 1: Insert a raster image.
To view information about a raster image
- If the CITY.dwg map is not still open, reopen it.
- In the drawing area, place your cursor over the image, hold down the Shift key and click the image.
- Click
 . Find
- In the Image Management dialog box, view information about the REDDING_DRG image.
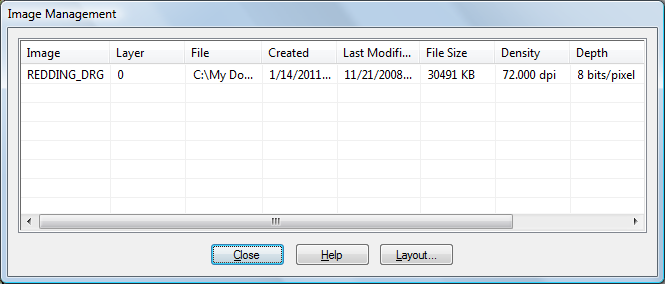
The Image Management dialog box displays information about the selected image.
- Click Close when you are finished.
- Select the image again.
Place your cursor over the image, hold down the Shift key, and click the image.
- Right-click the selected image and click ImageInformation.
- In the Image Information dialog box, view information about the REDDING_DRG image.

The Image Information dialog box has some extra image information.
- Click Close when you are finished.
To continue this tutorial, go to Exercise 3: Change the display order.