Photographs and other images formed of pixels are called raster images, while images formed of lines and arcs are called vector images. Bring in an aerial photograph to display behind the objects in your map. Real-world elements in the raster image line up with the geometry in your map and make it easier for the viewer to get a visual orientation.
To add a raster image
- If you have not already done so, copy the tutorial sample files to your local drive.
- In the
build_map1.dwg file, the
Data Connect
window should still be displayed. If it is not, in
Display Manager , click
Data
 Connect To Data.
- Under Data Connections By Provider, select Add Raster Image Or Surface Connection.
- Click the folder button next to Source File Or Folder.
- Navigate to the folder where you copied the sample files. Find the folder containing the JPEG 2000 raster files (originally called JP2K), and select it. Click OK.
- Click Connect to add the folder as a data source.
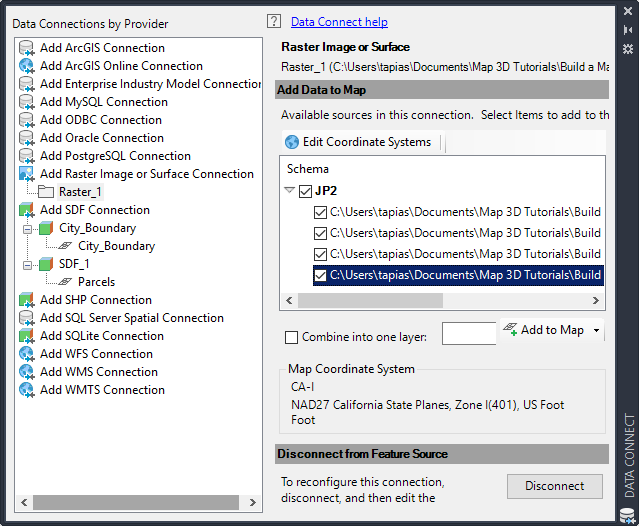
- Under
Add Data To Map, select the top check box (JP2) to select all the images in the folder.
The folder contains multiple JPEG 2000 files, each of which covers a small area of the city of Redding. Since there are multiple items and you might not want all of them, they are not selected automatically.
If your folder contains multiple images, select the ones you want.
- Set the coordinate systems for the images.
- Click Edit Coordinate Systems.
- In the Global Coordinate System dialog box, click in the blank field in the row labeled “Default” and click Edit.
- For Category, select USA, California.
- In the search box, enter CA-I.
- Select the CA-I coordinate system and click Select.
- Click OK in the
Edit Spatial Contexts dialog box to return to the
Data Connect window.
All the images now show CA-I as their coordinate systems.
- Select Combine Into One Layer, so you can style the raster images as a single item in Display Manager.
- Enter a name for the layer, for example, ReddingRasterImages.
- Click Add To Map.
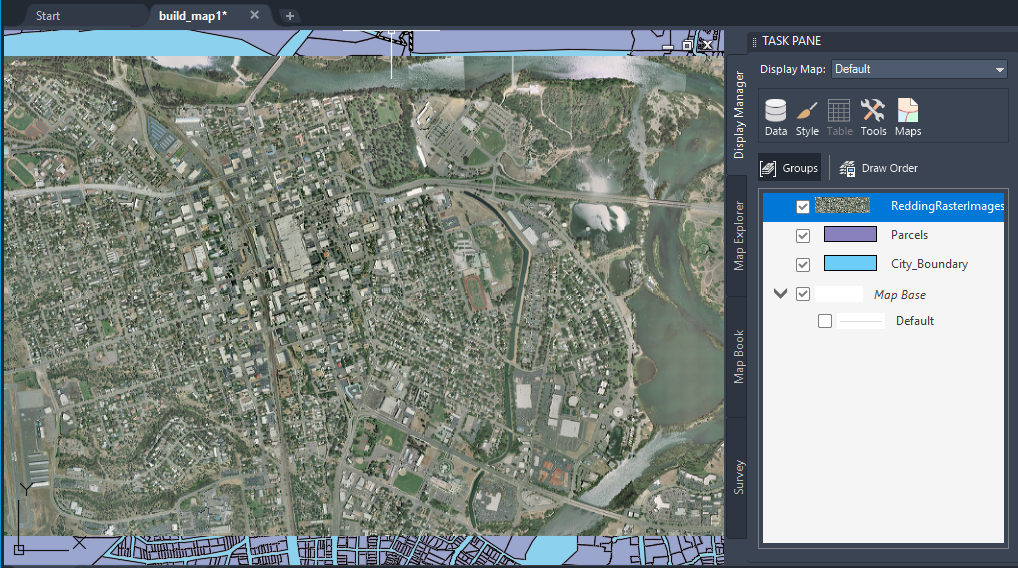
To see the results
- Close the Data Connect window.
- Right-click the new raster layer in Display Manager and click Zoom To Extents.
To continue this tutorial, go to Exercise 6: Display the raster image behind other features.