Begin by classifying the objects in the Classify_Signals drawing.
Note: This exercise uses the
Classify_Signals.dwg file you worked with in
Exercise 3: Add object classes to the definition file.
To classify the signal objects
- If the Classify_Signals drawing is not already open in AutoCAD Map 3D toolset, open it.
- Click
 . Find
Select the unclassified objects so you can add them to an object class.
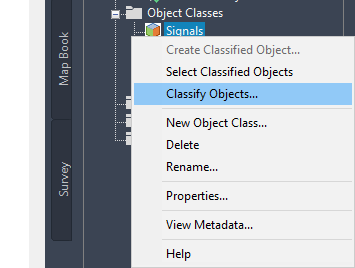
- Right-click the Signals object class in Map Explorer in the Task Pane and click Classify Objects.
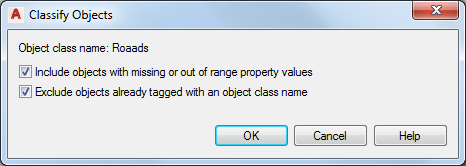
Classify the selected objects if they meet the criteria of the object class.
- Leave both boxes checked in the Classify Objects dialog box and click OK.
- To check that the objects were properly classified, press Esc to clear the selection. In the Map Explorer tab of the Task Pane, right-click the Signals object class and click Select Classified Objects.
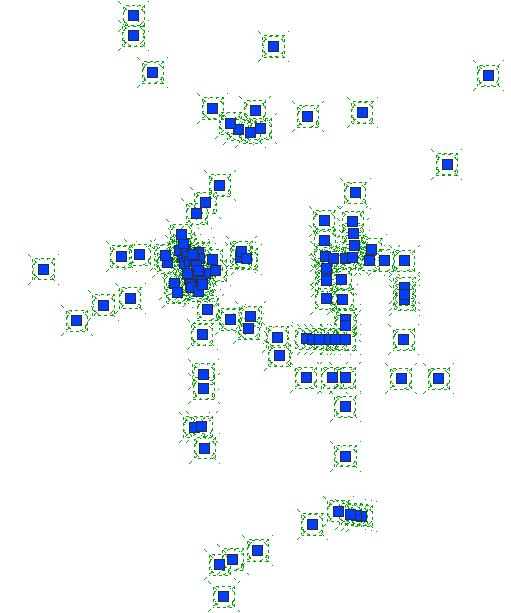
All the signals are selected.
- Press Esc again to clear the selection, and then click a single signal to select it.
- Right-click the selected signal and click Properties.
- On the Properties palette, click the Object Class tab and examine the properties.
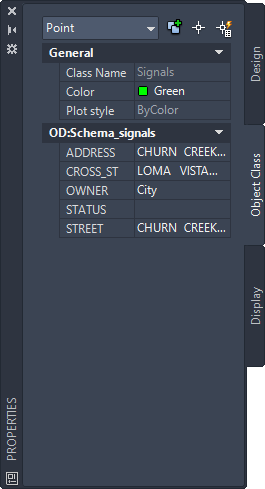
Examine the properties for members of the Signals object class.
- Save and close Classify_Signals.dwg.
To continue this tutorial, go to Exercise 2: Classify the roads and parcels.