In this exercise, you connect to the new SDF file you created and see the feature classes that were created from the three object classes.
Note:
This exercise uses the SDF file you created in Exercise 2: Export objects to SDF.
To connect to an SDF file
- In AutoCAD Map 3D toolset, create a map. Click

 NewDrawing. Select the map2d.dwt template and click Open.
 - In the new map file, in the Task pane, click DataConnect To Data.
- In the Data Connect window, do the following:
- Under Data Connections By Provider, click Add SDF Connection.
- For Source File, click the file icon next to the field.
- Navigate to the SDF file you created in Exercise 1: Export object classes to SDF.
- Select the file and click Open.
- Click Connect.
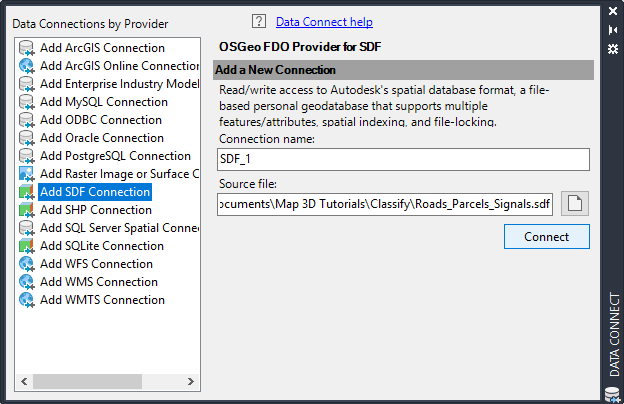
Specify the file to connect to.
- Under Add Data To Map, select all three feature classes listed.
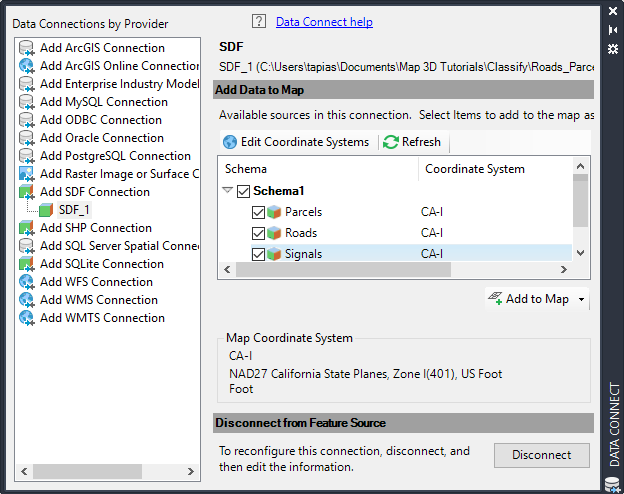
Select the feature classes and add them to the map.
- Click Add To Map.
- Close the Data Connect window.
- In the Task pane, click the Display Manager tab to see the three feature classes.
To continue this tutorial, go to Exercise 3: Style the new feature classes.