Use object classes as a quick way to select all objects in a class and change their properties. This does not change the object class definition itself, only the properties of the objects in that object class.
Note: This exercise uses the map you created in
Exercise 1: Create objects using object classes.
To change the color of the classified parcels
- If the
ObjectClass.dwg file you created previously is not still open, open it. Click

 OpenDrawing.
- On the Map Explorer tab of the Task Pane, right-click the Parcels object class name.
- Click Select Classified Objects.
All objects classified as Parcels are selected.
- Right-click any of the selected parcels and click Properties.
- In the Properties palette, click the Pattern Fill Color field (under Pattern on the Design tab) and choose a different color.
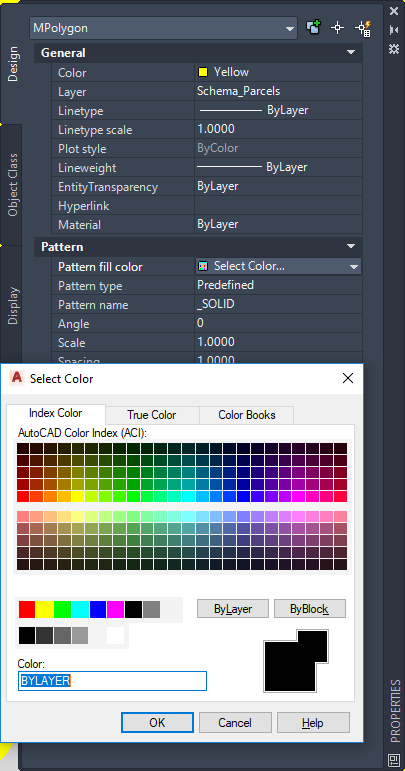
Change the fill color of all objects in the Parcels object class using the Properties palette.
- When prompted to save the changes back to the save set, click Yes to change the parcel color in the original file. Click No to change it only in the current map.
- Save your map.
Where you are now
You created and edited objects using the object class definitions.
To continue this tutorial, go to Lesson 6: Generate Metadata for a Classified Drawing.