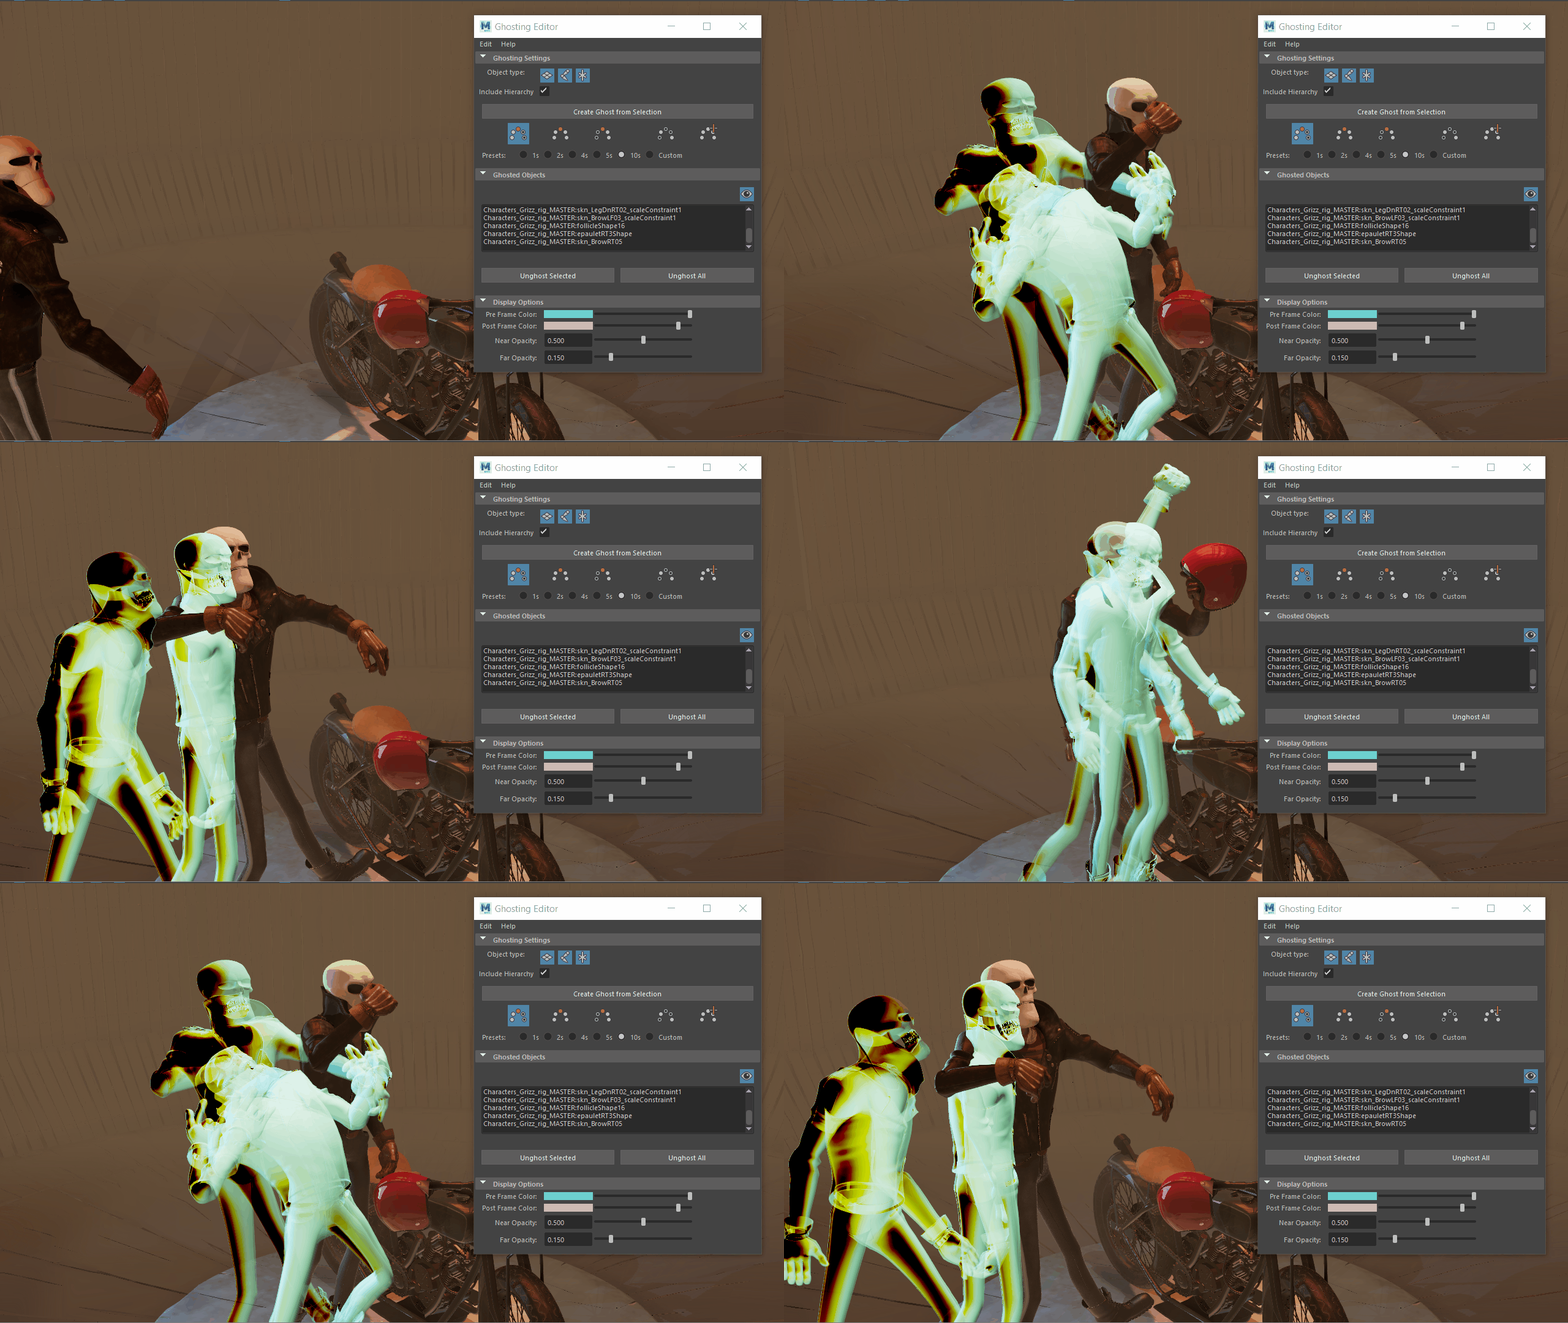

Use the Ghosting Editor to apply changes to all ghosts in your scene. With the Ghosting Editor, you can edit each Ghost attributes one by one, or as a group.
To apply ghosts to the elements in the scene
- Select Visualize > Open Ghosting Editor in the Animation menu set (F4). The Ghosting Editor opens.
- In the Ghosting Settings area, select which Object Types to which you want to apply Ghosting:
Geometry
 ,
Joints
 , or
Locators
 . Activate
Include Hierarchy if you want the entire rig hierarchy included in the Ghosting preview.
- Click Create Ghost from Selection and the Ghosted Objects list is populated.
- Select how you want the Ghosts to display, such as before, after, or before and after the animation using the Ghost options, as well as if you want the Ghosting to appear after every frame, every second frame, every fifth frame, and so on, in the Frame Step area.
To drive ghosting with another object
- With the following MEL script, set an object to be the Ghost driver in the
Node Editor:
connectAttr <driver>.msg <ghost>.ghostDriver
(Where <driver> is the object you want to drive Ghosts.) - In the
Ghosting Editor, select
Ghost Key Frames
 .
.
- Click the Use Ghost Driver option that appears below Ghost Key Frames to replace the ghosted keys with keys from the chosen object in the Node Editor.
To change the color of scene ghosts
At the bottom of the Ghosting Editor, in the Display Options, double-click the color tile to open a color window, where you can set a color. Click away from the color window in the UI to close it.
To change the transparency of scene ghosts
At the bottom of the Ghosting Editor, in the Display Options, move the slider for the Near or Far Opacity settings.

Ghost Editor Opacity Settings: A) Near set to 100 and Far set to 5, B) Near set to 5 and Far set to 100