
- In the Animation menu set (F4)

The Ghosting Editor lets you create images that echo the animation, letting you visualize movement and position of animated objects over time. Unlike a Motion Trail, which is a representation of keys around your animated model, an Animation Ghost shows you the object rather than a trail, allowing you to make better decisions about the animation.
This topic covers the settings in the Ghosting Editor, to use Ghosts in your scene see Ghost an object and Modify scene ghosts with the Ghosting Editor.
Ghosting Settings
These filters let you include or exclude show specific components from ghosting.
| Object Type | Behavior |
|---|---|

|
Turn off this setting to so that geometry is not ghosted. This setting is on by default. |

|
Turn off this setting so that joints are not ghosted. This setting is on by default. |

|
Turn off this setting so that locators are not ghosted. This setting is on by default. |
- Include Hierarchy
- Turn this option on to create ghosts from any DAG hierarchy descendants in the hierarchy of the selected object. For example, if you select a top level node, such as a character rig, all the geometry and joints contained in that group are ghosted as well.
- Create Ghost from Selection
- Once components are selected in the scene, click Create Ghost from Selection to apply ghosting to them.
- Ghost mode
- Click the icons to set how the ghosting effect appears in the scene.
-
 Ghost Before
-
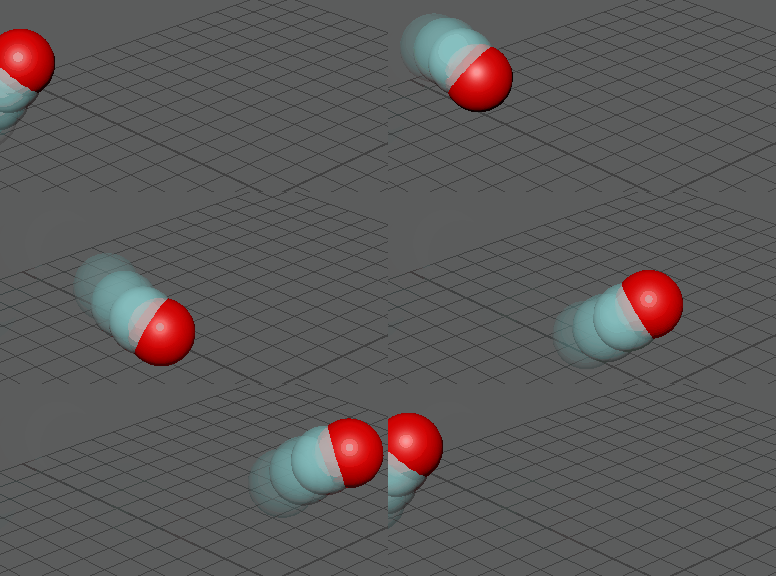
- Applies ghosting to the frames leading up to the current frame of the animation.
- Use the Frame Step field to set the ghost spacing. See Frame Step for more detail.
 Ghost Before & After
-
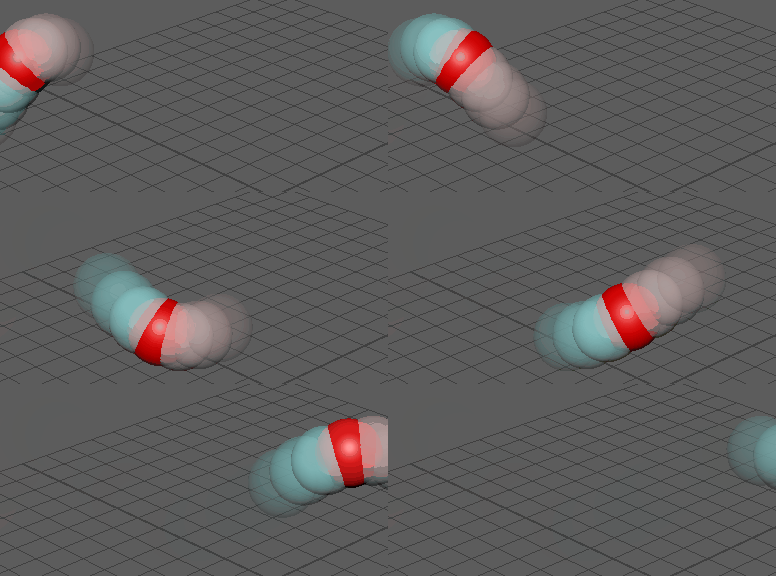
- Applies ghosting to the frames leading up to and following the current frame of the animation.
 Ghost After
-
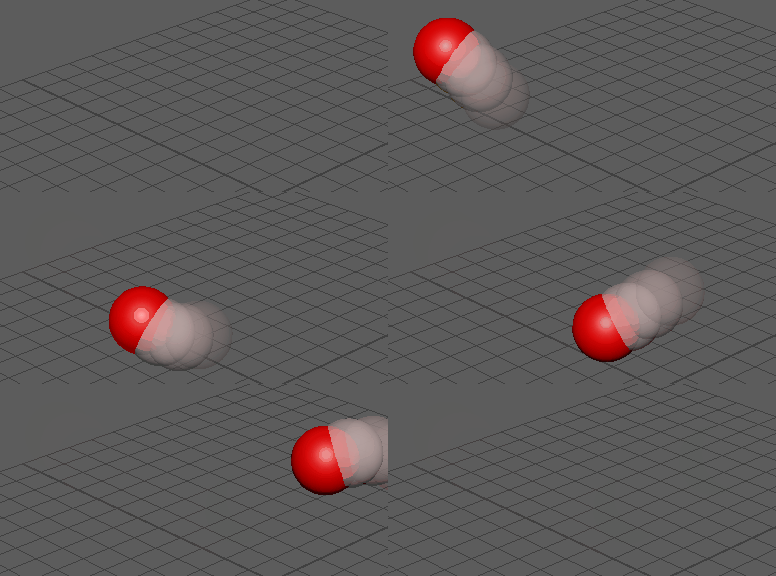
- Applies ghosting to the frames following the current frame of the animation.
 Ghost Custom Frames
-
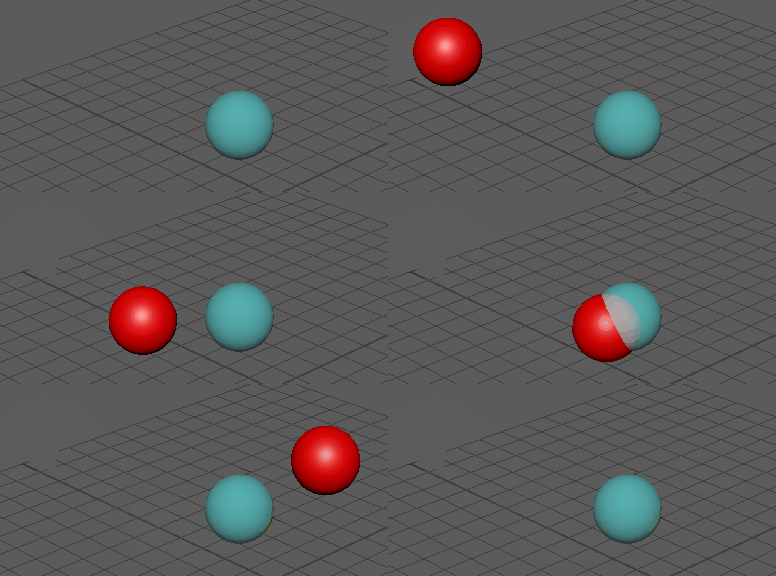
- Applies ghosting to specific frames of the animation.
- Clicking this icon replaces the Frame Step field with the Custom Frames field, where you can enter the frame numbers on which to display ghosts.
- Click Add Current Frame if you want to add the frame currently shown in the Viewport.
 Ghost Key Frames
-
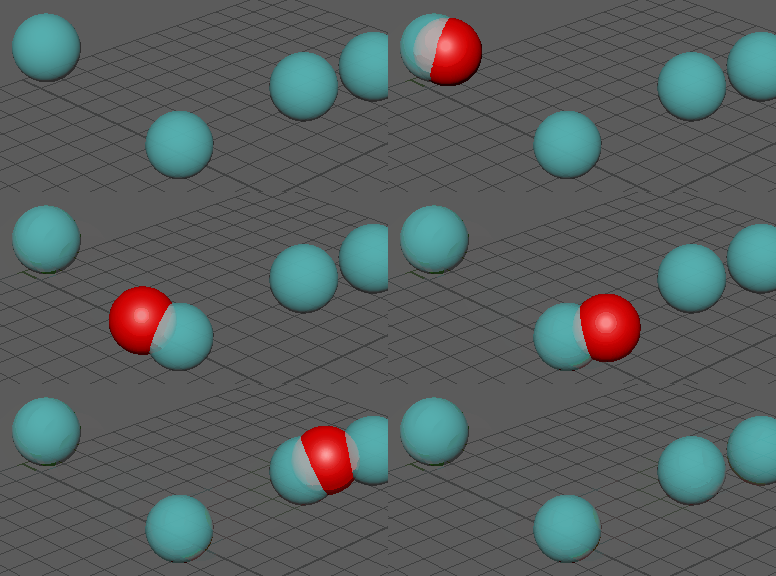
- Applies ghosting to each key frame of the animation.
- Clicking this icon replaces the Frame Step field with the Use Ghost Driver option.
- Select Use Ghost Driver to use the keys from an object selected in the Node Editor to drive ghosting of other selected objects.
-
To set a Ghost Driver in the Node Editor
Use the following MEL command:connectAttr <driver>.msg <ghost>.ghostDriver
(Where <driver> is the object you want to drive Ghosts.)
- Presets
-
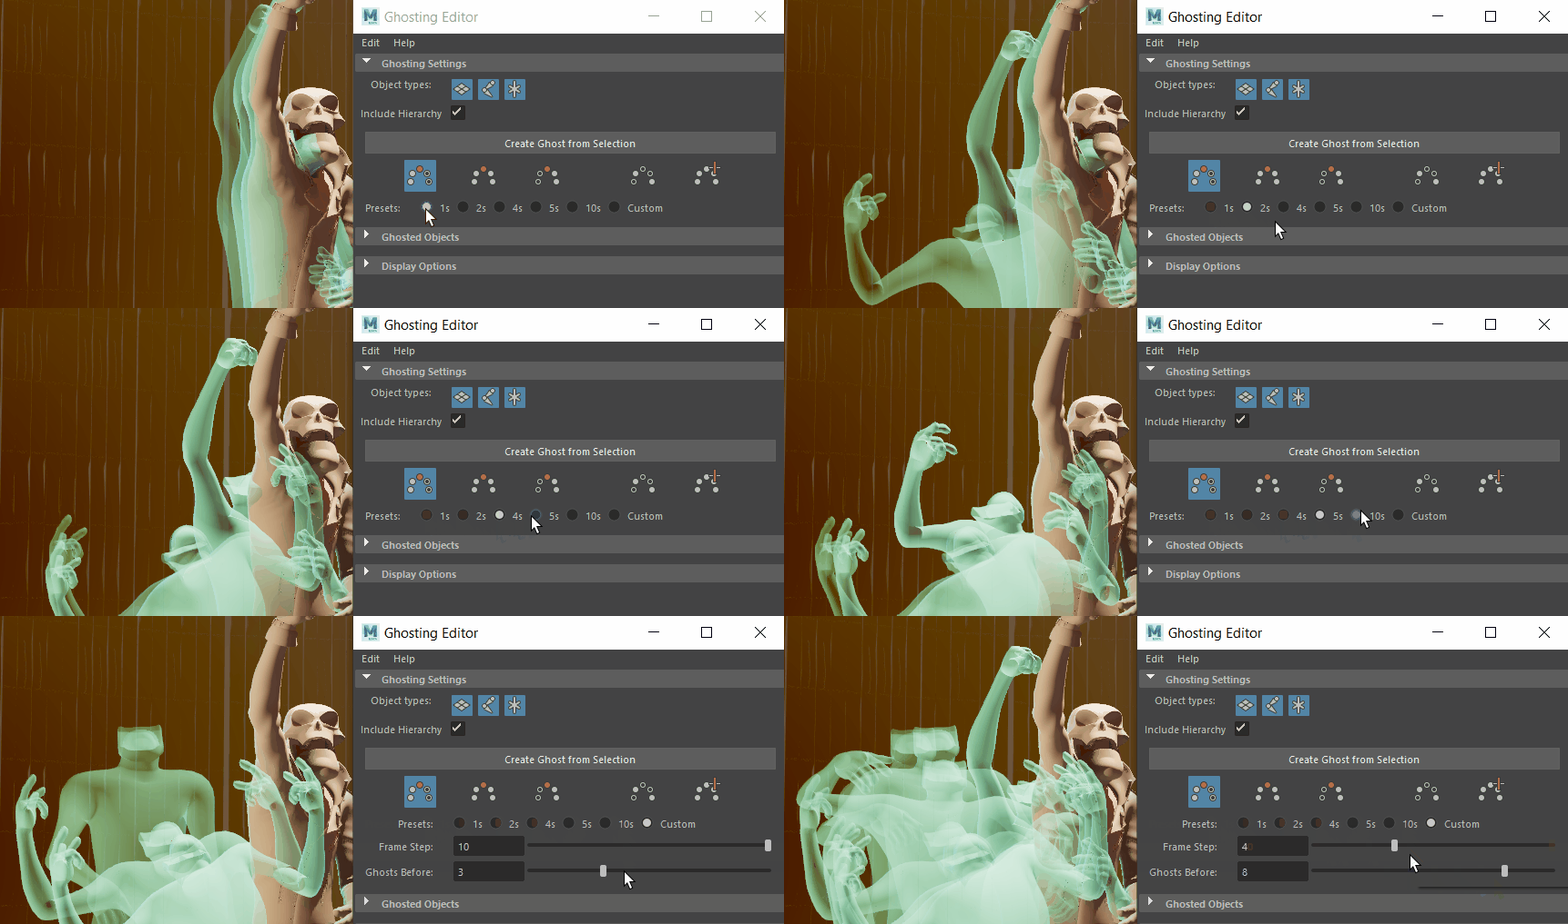
- Ghosting Presets let you choose the interval at which ghosts appear.
- Select from Preset intervals for the ghost spacing, for example by every frame (1) every second frame (2) and so on, or set another distance by entering a different amount the Custom field, which includes sliders for Frame Steps, Ghosts Before and Ghosts After. The Presets option is only available Ghost Before, Ghost Before & After, and Ghost After modes.
Ghosted Objects
This section shows what in the scene is being ghosted and associated options.
 Ghost Show/Hide
- Toggles the visibility of ghosts in the scene on or off.
- Ghost Objects List
- Displays all ghosted objects in the scene.
- Unghost Selected
- Removes the chosen objects (in the Viewport or Outliner) from the Ghosted Objects List.
- Unghost All
- Removes all ghosts from the scene as well from the Ghosted Objects List.
Display options
This section adjusts how ghosts are drawn in the Viewport.
- Pre/Post Frame Color
- Set a custom color for the ghost Before and After the current frame.
- Near/Far Opacity
- Adjusts the minimum opacity for ghosts closest or furthest from the current time.
- This setting acts as a ramp: the near opacity represents the ghosts closest to the current time, and are generally the most opaque. The far opacity is the opacity of ghosts distant from the current frame, and are generally the least opaque.
- The opacity settings adjust based on these two values for the ghosts in between.