Check out a quick motion path tutorial on the YouTube Maya Learning Channel.
To create a motion path by attaching an object to a curve
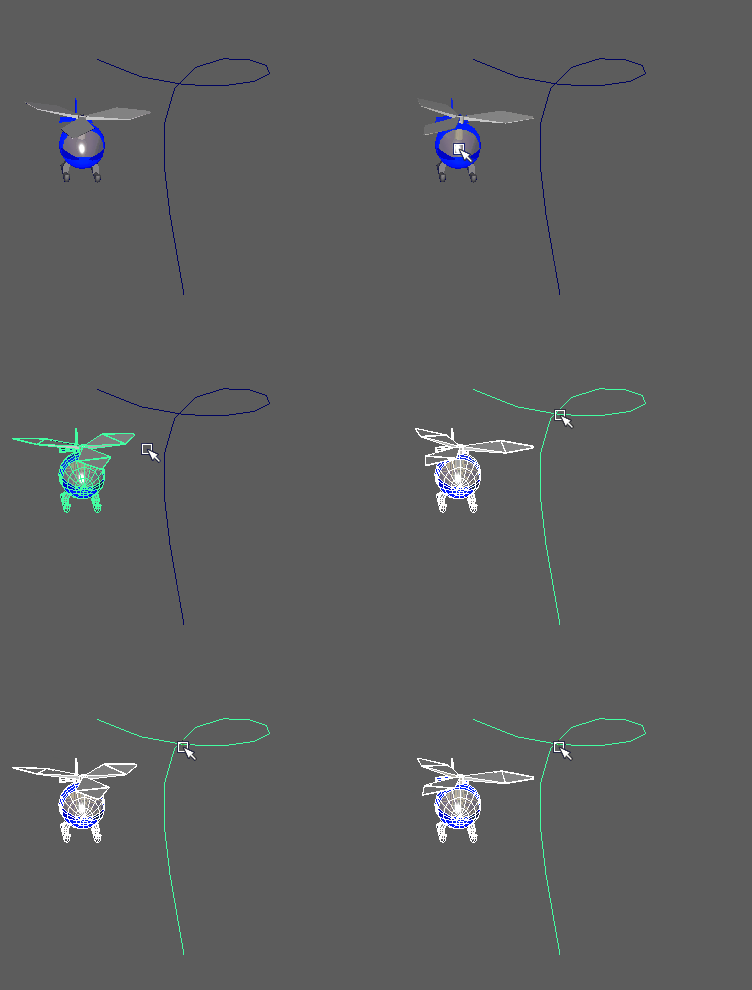
- Select the object you want to animate on the path, and then Shift-select the curve.
 Note: You can Shift-select multiple objects and attach them to the same path curve. Remember to select the path curve last.
 - In the Animation menu set, select .
- In the
Attach to Motion Path Options window, do the following:
- Select the Time range for the animation as Time Slider (recommended), or select Start/End and specify times within the Time Slider range.
- Turn
Follow on.
When Follow is on, the Front Axis and Up Axis options determine which of the three local rotation axes sets the front and up of the object respectively.
- Select the axis you chose to represent the front of your object as the Front Axis, and select the axis you chose to represent the up direction of your object as your Up axis.
- Optionally select Bank if you want the object to bank inwards on each curve in the motion path, as does a bicycle or motorcycle.
- In the
Attach to Motion Path Options window, click
Attach.
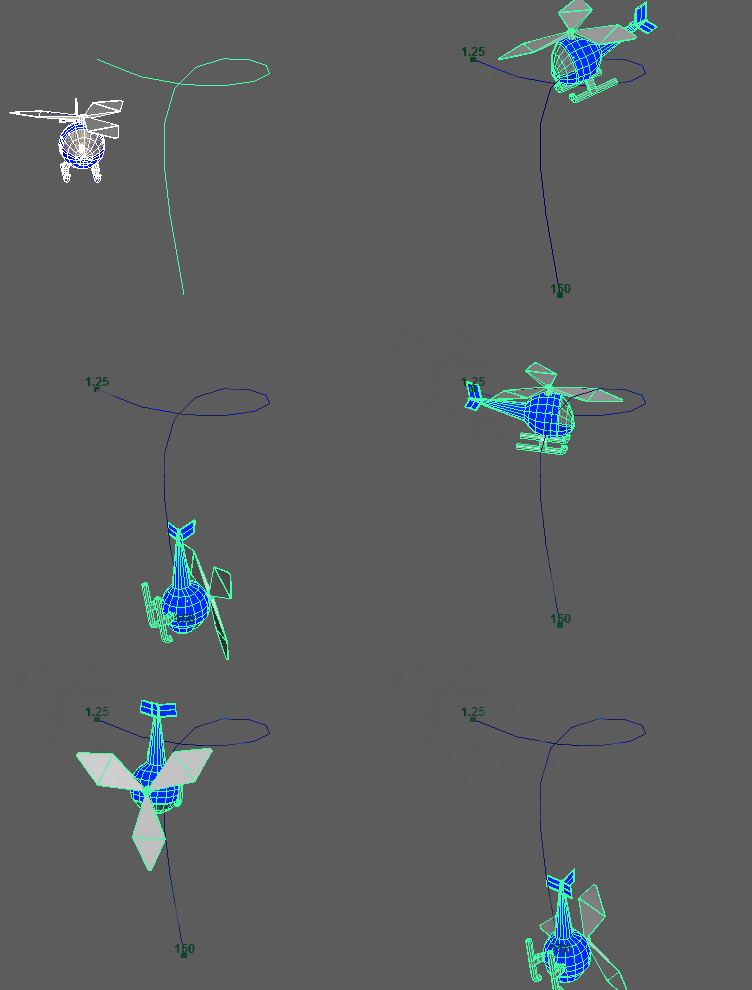
The object moves to a point on the curve as specified in the Time range setting.

Two motion path position markers with numbers appear at each end of the curve. These markers indicate the start and end frames of the animation path.
- To view the animation of the object, click the
Play button in the Playback controls.
In the examples provided in this topic, the helicopter's orientation on the Motion Path is at a static angle, which makes it point the wrong way to land. To learn how to set keys on a Motion path object's orientation, see Adjust the orientation of the path object.
Tip: If your object does not follow the motion path, it may be due to existing transforms on the parent of the object, such as the object shown in the illustrations. To force the object to follow the path, Open the Outliner, and select the Parent object, or attach the parent of the object of the motion path instead of the object, and then move the parent’s pivot until the object (its child) is on the path.
