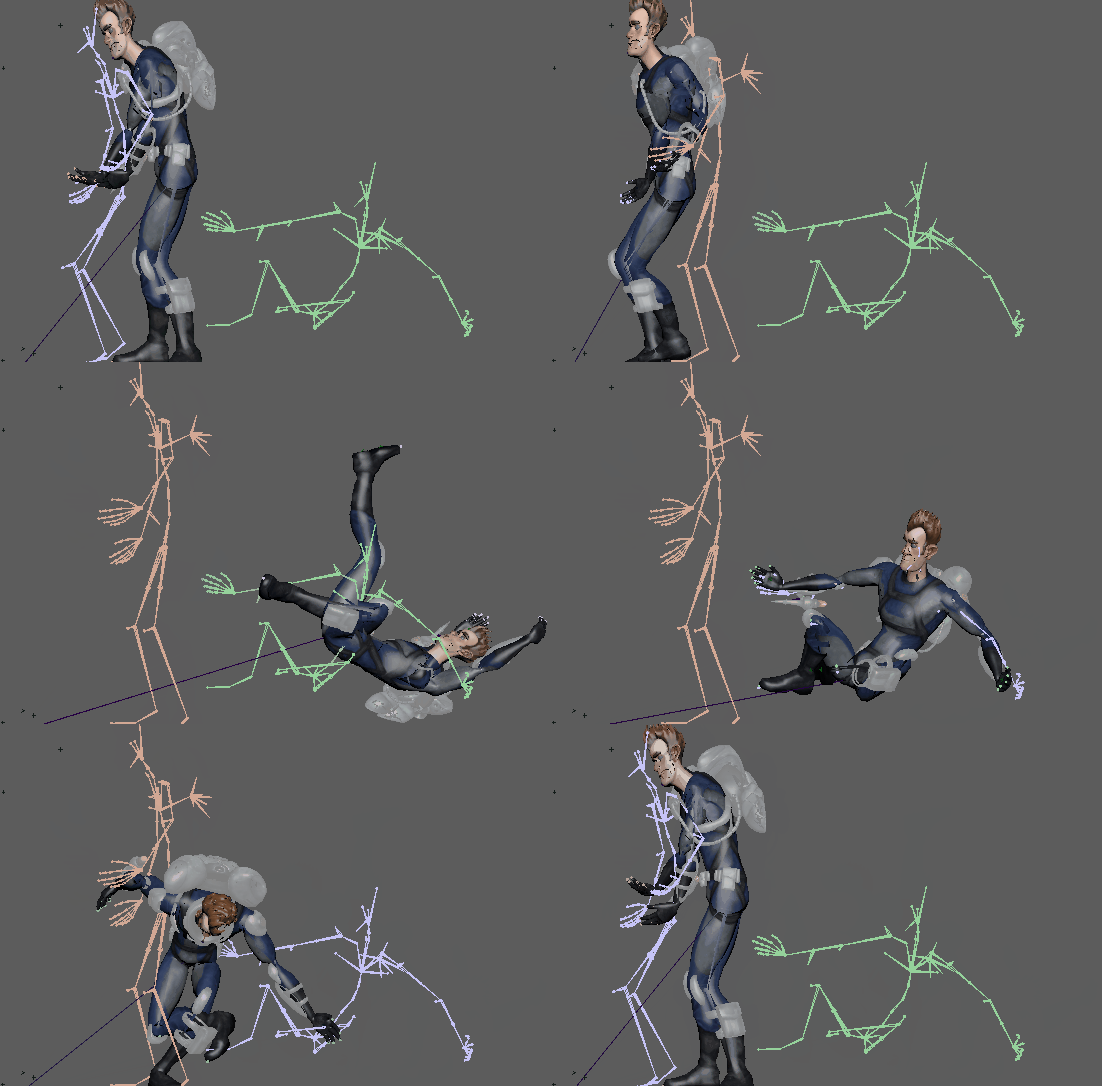
Activate Ghosting on a Track to view the progression of the animation. This lets you view the start and end positions of all animation clips on a track, which is useful when matching poses or blocking animation.
For example, this image shows an animation clip that has been split in two of an animated sphere. The second half of the clip has been moved further along the track, creating a gap between the clips:


Note: Because Ghosting is activated for the
Track, both clips on the Track have a
 icon next to the clip name.
 icon next to the clip name.
When you activate Track Ghosting
 in the Track's
Roster controls, the ghost of the second clip's start position displays while the first clip is played and then, once the second clip plays, you see the ghost of first clip's end position.

 in the Track's
Roster controls, the ghost of the second clip's start position displays while the first clip is played and then, once the second clip plays, you see the ghost of first clip's end position.

Note: This procedure shows how to show
all ghosts on a chosen track. If you want to see the ghost for a specific clip only, see the procedure for
Viewing Clip Ghosts in the Time Editor, below. Time Editor default ghost is a skeleton or the root object of the animation. If you would like to use something
other than the default as a ghost to pre-visualize your animation, see
Create a custom clip ghost.
To view the Ghosts for all the clips on a track
- Select the track in the Time Editor.
- Activate the Ghost icon
 in the corresponding Track's
Roster controls.
A Ghost icon appears next to the clip's name.


A ghost shows the objects pose/state at the current frame when crossfading or blending. The ghost is the same color as the corresponding clip. To customize track ghost colors, choose a new color for the Clip in the Attribute Editor. (See Time Editor in the Attribute Editor.)
When transitions are used (or if there are two clips separated by a gap,) the ghost depicts the last value of the first clip and for the first value of the second clip if the current time is in between the two clips.

