The Morph deformer lets you apply deformations on one geometry to another geometry, provided they have the same amount of vertices.
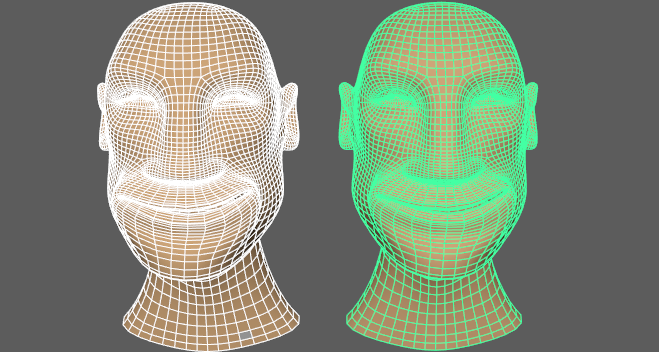
In this example, there are two heads models: one that is animated and another that is not animated but has a facial expression.

- Shift-select the object that you want to deform, followed by the source object.
In this example, the animated head on the left is selected first, followed by the head that has the facial expression we want to apply to the animated head.
- In the
Deform menu, select
>
 . The
Morph options window appears. (The
Deform menu appears in the Modeling (F2), Rigging (F3) or Animation (F4)
menu sets.
Note: The Morph options window contains the basic controls for creating a morph of the Source object onto the Target object. You can find more for the Morph deformer in the Source object Attribute Editor Morph tab. (These settings are also described in the Morph options topic.)
. The
Morph options window appears. (The
Deform menu appears in the Modeling (F2), Rigging (F3) or Animation (F4)
menu sets.
Note: The Morph options window contains the basic controls for creating a morph of the Source object onto the Target object. You can find more for the Morph deformer in the Source object Attribute Editor Morph tab. (These settings are also described in the Morph options topic.) - Click
Apply. The Source object adopts the deformation of the deformed object.
Note: When you first click Apply, the animation disappears. This is because the Morph Mode is set to Absolute by default, so the Source object completely takes on the properties of the deformed object.
- Select a Morph Mode. In this example, Surface is used because we want to apply the deformation from the Source object surface.
- If the mesh tears, use the Neighbor Exponent setting in the Attribute Editor Morph Options.
Morphing with different geometry
The Morph deformer works best when it is used with objects that have the same amount of vertices. If the polygon count is not the same, the Morph deformer cannot interpolate realistically between the shapes.
In the animation above, the sphere on the left has a Squash deformer and a falloff. The Target and the Source sphere are both selected, and a Morph deformer is applied. The Squash deformer and Falloff effect are now added to the Source sphere.