When creating twist deformers, you can first set creation options and then create a deformer, or you can immediately create a deformer with the current creation options. If you’re not sure what the current creation options are, checking them before you create a deformer can save you some time adjusting the deformer’s attributes afterwards.
Attention: You should avoid changing the number of a deformable object’s points (for example, CVs, vertices, or lattice points) after you create a deformer. Changing the number of points can lead to unexpected deformation effects. Try to be sure you are happy with the deformable object’s topology before you begin using deformers. Save a copy of the object in case you want to do further modeling.
To create a twist deformer
- Select the object(s) you want to deform.
- Select
Deform > (Create) Nonlinear > Twist >
 .
.
The Twist deformer window appears.
- Click the
Basic and
Advanced tabs and set the creation options.
See Twist deformer and Advanced deformer options.
- (Optional) As you set the creation options, you can also do the following:
- Select to save the creation options without creating a twist deformer and keep the options window open.
- Select to reset the options to their default and keep the options window open.
- Do one of the following:
- Click Create to create a twist deformer. The options window closes.
- Click Apply to create a twist deformer and keep the options window open.
- Click Close to close the window.
Example Twist Deformation: Modeling a Spiral staircase.
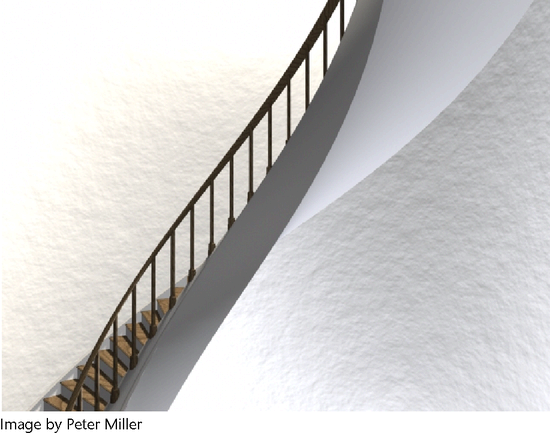
The foundation, rail, and moldings of the staircase’s model were shaped with the twist deformer.