
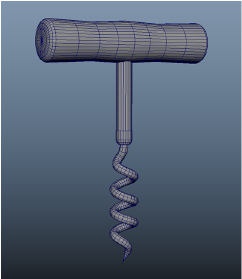
This example shows you how to create the screw portion of a wine corkscrew using the Sweep Mesh tool. To create the spiral curve, you need to have the Spiral Tools Bonus Tool installed. Bonus tools are available free from the Autodesk.App Store.
Note: The
Spiral Tools Bonus Tools are for previous versions of Maya, so you will need to install the Bonus Tools in Maya 2020, create the spiral in and paste it into the latest version.
- With the
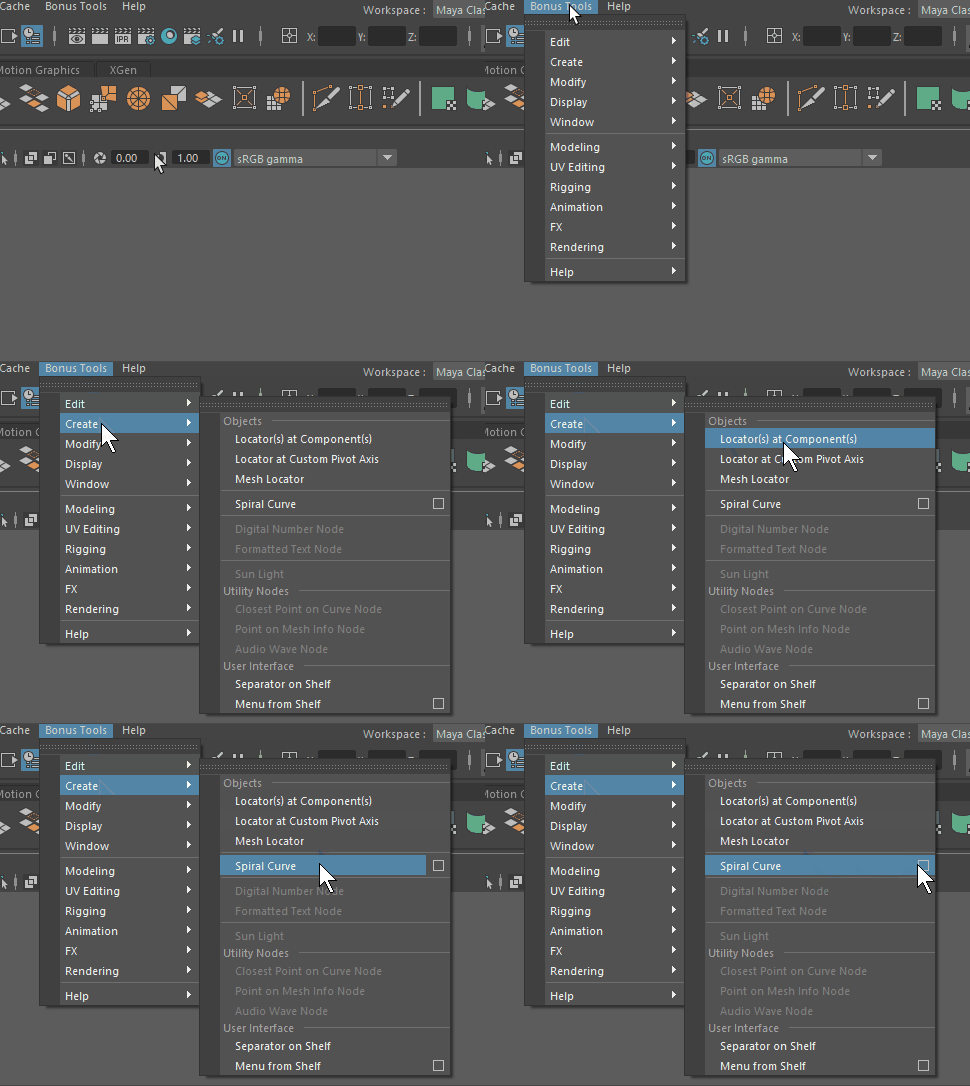
Spiral Curve Bonus Tool installed, select
>
 from the
Maya main menu. The
Spiral Tools options appear.
- Adjust the
Height,
Radius, and
Rounds values of the Spiral Tools until you get a shape you like.
The Spiral Curve tool is not procedural, so you need to set values, apply, and undo until you find a shape that you like.
For this example, use:- Height = 8.7584
- Radius = 1.1074
- Rounds = 4.000

- Add a
Cylinder to the scene from the Poly shelf to be the top of the corkscrew spiral and translate it so it is at the top of the spiral as a corkscrew base.
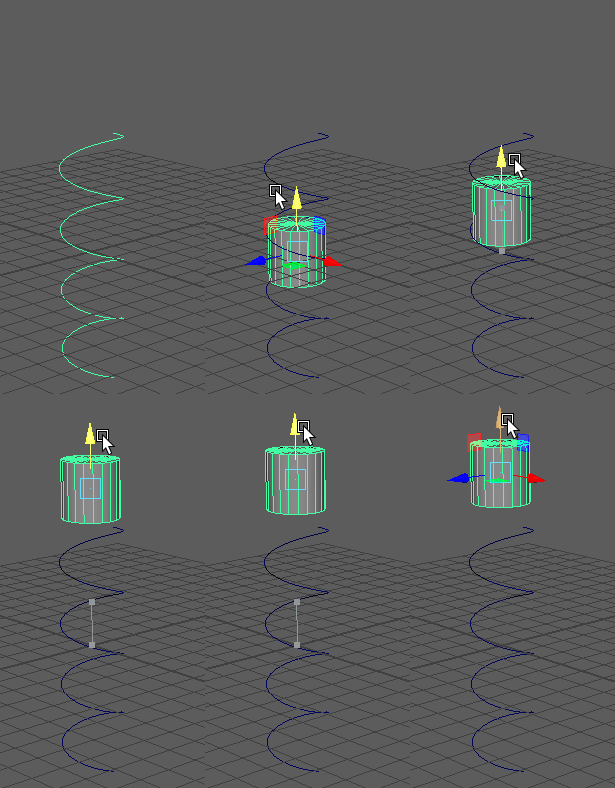
- Right-click the spiral and select Control Vertex. Press W while selecting the vertex to expand the Move Tool marking menu, and choose Keep Spacing to maintain the distance between the vertices.
- Select the vertex at the top of the spiral, and translate it until it aligns to the center of the cylinder. This provides the straight section at the top of the corkscrew where it joins the body.
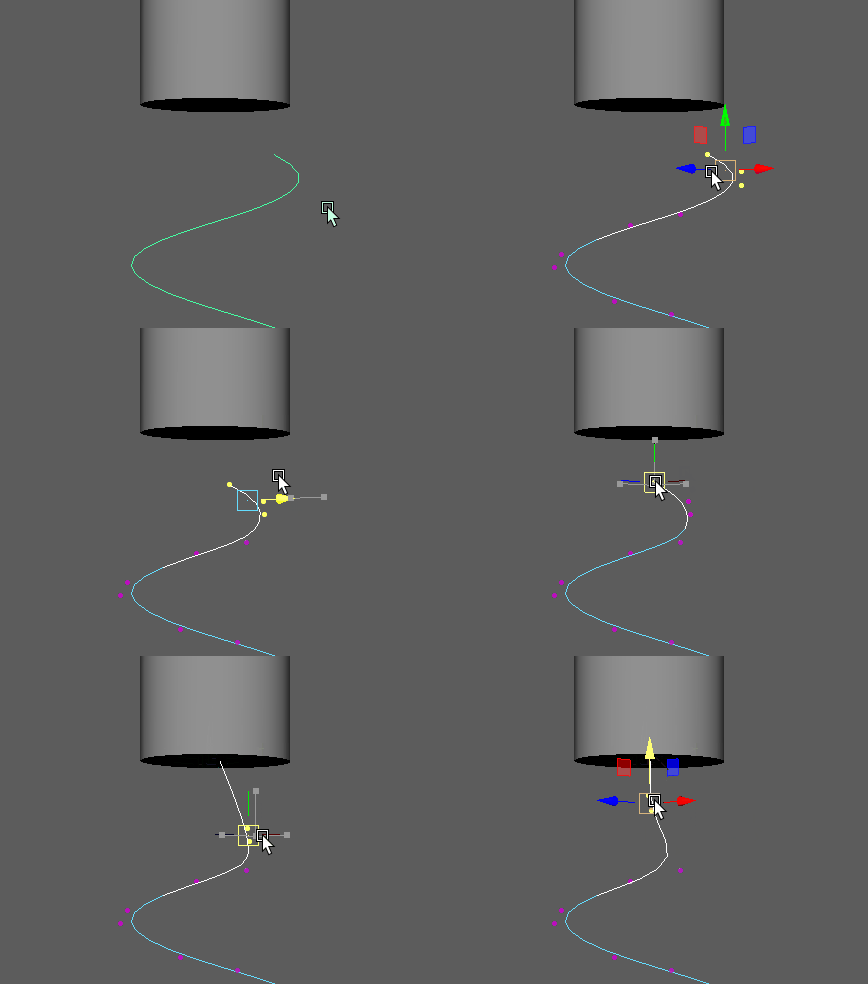
- Make similar adjustments with the vertices at the bottom of the spiral to become the spike.
- Once you are happy with the shape spiral, right-click the curve and select Object mode.
- Now, select
Sweep Mesh
 from the Poly Modeling shelf or
in the
main Maya Menu. The curve adopts the default Sweep shape, which is a somewhat rough around the edges.

- To smooth out the coils, increase the Sweep Mesh resolution by maximizing the Precision values in the Interpolation area.
- Reduce the thickness of the spiral by adjusting the
Scale settings in the
Transformation area.
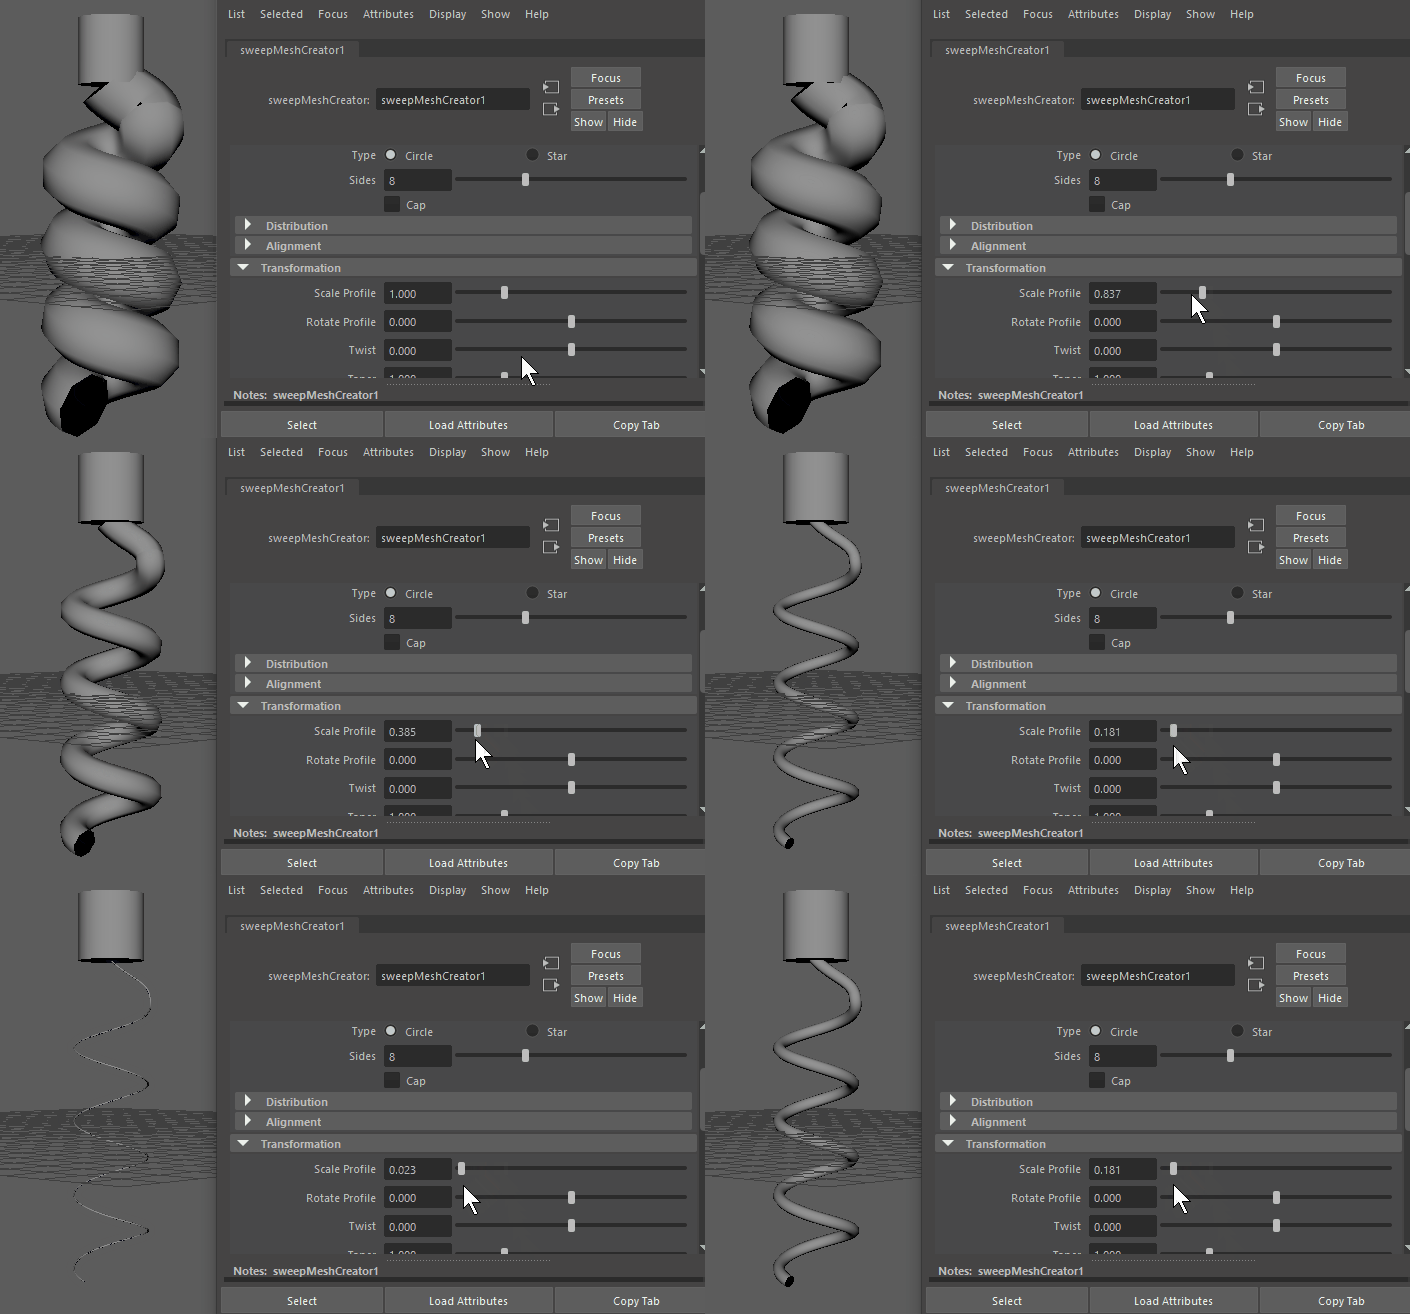
- Next, go to the
Taper settings in the
Transformation area of the
Sweep settings to adjust the coils so it finishes as a sharp point.
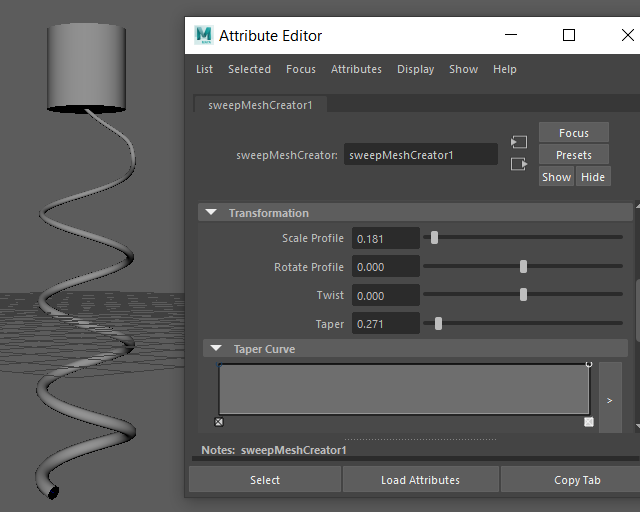
- However, the spiral curve is built upside-down so that the thin spike is at the wrong end. Change the orientation of the spiral so that it points downward, by selecting the curve and then choosing
from the Modeling Menu Set (F2).
Note: Make sure to select the original curve shape and not the sweep mesh as the Reverse Direction works on the underlying geometry. To view the original curve, expand Group in the Outliner and choose CurveShape1.
- The Taper effect is linear, which means the thinning of the corkscrew will occur equally through the curve, which isn't realistic for the pointed spike, so set
Taper to
1.000, and expand the
Taper Curve ramp so that the falloff is only at the end of the spiral.

- In the Taper Curve Interpolation menu, set a Spline falloff for a smooth result.
Tweak the Sweep Mesh options until you are happy with the result.