In a new Maya scene, set the Time Slider duration to 100 frames and ensure it is set to play back at frame 1.
- Create a Polygon Cube to be your wall. Select Create > Polygon Primitives > Cube >
 .
. - Set:
- Width to 0.5
- Height to 5
- Depth to 10
Then click Create.
- In the Attribute Editor or Channel Box, with the cube still selected, set the Transform Attributes > Translate values to:
- -10.00
- 2.5
- 0.0
This positions the wall at the back end of the grid.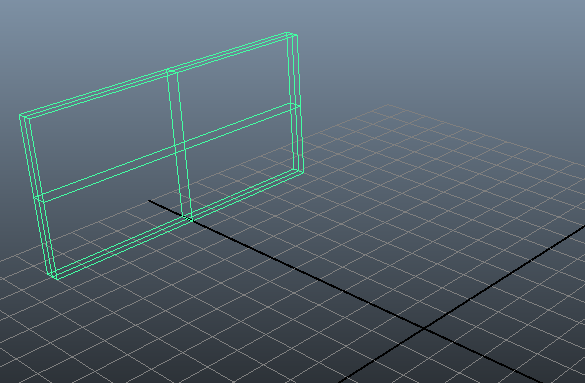
- Select Edit > Delete by Type > History.
- Use the Shatter tool to set fractures for the wall. See Create shatter. Note: Solid Shatter is recommended.
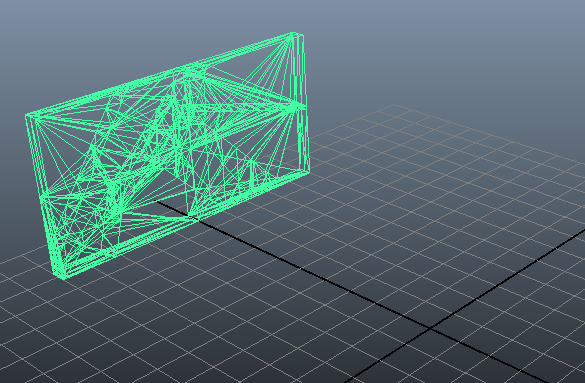
- Create a cannon ball to fire at your wall. Select Create > Polygon Primitives > Sphere.
- In the Attribute Editor or Channel Box, with the sphere selected, set the Transform Attributes > Translate Y- Axis values to 1.0. This sets it on top of the ground plane.
- Select the wall. (To avoid selecting one of its fragments, select Window > Outliner, and select SolidShatter1).
- Select Bullet > Create Rigid Sets > Create Rigid Set from Selected Objects.
- In solidShatter1SetInitalState node, set the Collider Shape Type to Hull in the Collision Attributes section. (If you choose anything other than Hull as a shape type, the fragments intersect and explode when you play the simulation.)
- Make sure that the Initial Conditions for your Rigid Body wall shape is set with the Never Sleeps setting off and the Initially Sleeping setting on or the wall self-destructs the moment you press Play.
- Make sure Initial Velocity are all set to 0.
- Click Apply and Close.
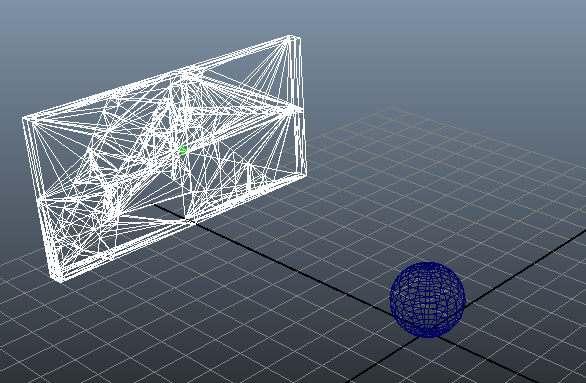
- Select the Sphere and select Bullet > Create Active Rigid Body >
 .
. - In the Sphere's Collider Properties, set Collider Shape Type to Sphere.
- Disable Initially Sleeping and set the Sphere's Initial Velocity settings to:
- -10.0
- 8.0
- 0.0
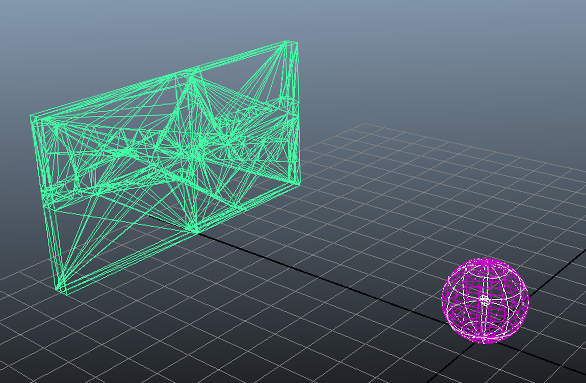
- Select bullerSolver1 in the Outliner, and turn on Ground Plane in the Solver Properties area of the bulletSolverShape node.
- Click Play to view the simulation.
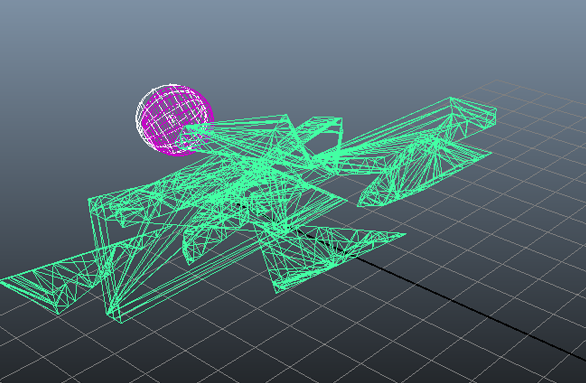
Fragmenting Notes
- It does not always produce the best result when the Rigid Body Wall object's center pivot is used as the object's Center of Mass. If this is the case, adjust the rotation pivot and click Refit.
Use the Attribute Editor Debug Draw setting in the Attribute Editor Solver Properties section to see if the rigid body collision shape fits tightly around the source mesh and is offset correctly. Using the rigid body Auto Fit attribute to automatically select the correct offset.
- There is an automatic 0.04 collision margin added to collision shape created from the source mesh. This means by default, pieces that exactly align automatically collide at the start frame. Use the Initially Sleeping setting or deflate the input mesh slightly to compensate for this margin.
- If you change the Center of Mass attribute on an axis for any collider shape other than Hull, the Collider Shape primitive is transformed. To counteract this, add the opposite offset on the same axis in the Collider Shape Offset attributes, under Collider Properties, which you can access if you turn off Auto Fit.