In the Texture settings, the Texture Mapping area contains controls that let you position and tile the texture. The Texture Mapping settings consist of U and V Tile, Translation, Rotation and Scaling.
Mapping Method
The Mapping Method menu lets you specify the mapping settings for your texture. Use the Mapping Method options to map your texture to a selected object according to its coordinates (UV, XY, YZ, or XZ), to a designated wrap option (Spherical or Cylindrical), or use Environment mapping. See Mapping method types and Choosing a mapping method.
UV Set
The UV Set field lets you select different UV sets (also known as Map Channels) when a model has more than one.
U/V Tile
The U Tile and V Tile menus let you set the repetition of textures on a model’s U or V coordinates.
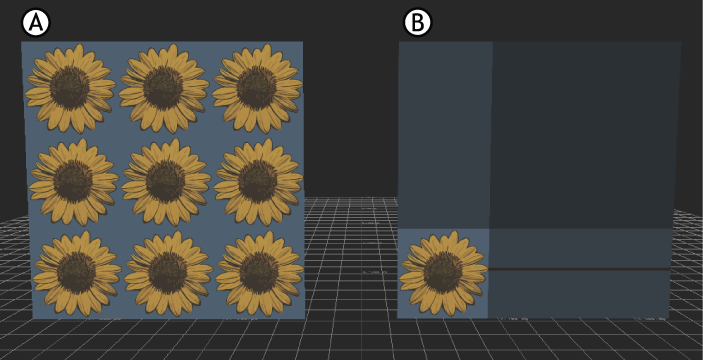
In the following figure, two planes have the same texture applied, but each uses a different mapping method from the U/V tile menus.

The same striped texture on two planes A. Texture set to U and V Repeat. B. Texture set to U and V Clamp.
Both menus let you choose one of two options, Repeat and Clamp:
| Option | Description |
|---|---|
| Repeat | Applies the texture over and over on the model’s surface until the model is covered. This is the default setting. |
| Clamp | Applies the texture to a model only once, using the color at the ends of the texture as the “filler”. |
Swap UV
Activate the Swap UV option to change the direction of the texture’s UV map coordinates.
Translation
Use the Translation values to modify the UV starting position of your texture. The data in these fields determines where your texture is applied on a selected model.
Scaling
Use the Scaling values to modify the UV scaling of your texture. Use Scaling to stretch, shrink, or tile your texture. The Scaling values determine the size of your texture relative to a selected object. For example, entering a value of 5 shrinks the texture; the texture tiles 5 times if it is set to Repeat, or only shrinks to 1/5 of its original size if it is set to Clamp. Set the values to 1.00 to keep the texture at its original size.
You can change the texture’s scaling pivot using the Scaling Pivot Offset properties in the Properties window. When you scale a texture, it scales in or out from its pivot point. The Scaling Pivot Offset U and V values range from 0 to 1.00. Change the value of the Scaling Pivot Offset.u property to move the pivot along the width of the texture. Change the value of the Scaling Pivot Offset.v property to move the pivot along the height of the texture. For example, entering a value of 0.50 for both U and V properties places the texture’s scale pivot in the center of the texture, letting you scale a texture from its middle.

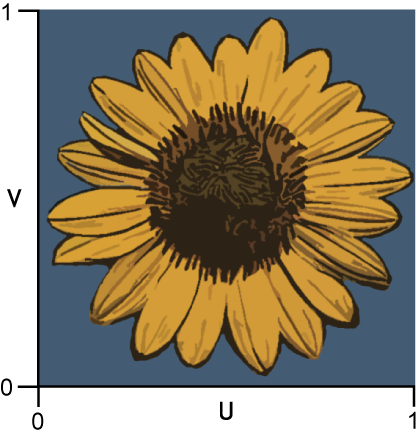
A texture’s U and V values range from 0 to 1.
Rotation
Use the Rotation values to adjust and animate the rotation of your texture on the object to which it is applied. The fields you use depends on whether you are using a 2D texture or a 3D texture.
For 2D textures change the value of the Z field. This value is the degree of rotation, so a value of 180, for example, would be half a rotation.
For 3D textures, use all three Rotation fields in the Texture settings to adjust the texture.
You can change the texture’s rotation pivot using the Rotation Pivot Offset properties in the Properties window. The Rotation Pivot Offset U and V values range from 0 to 1.00. Change the value of the Rotation Pivot Offset.u property to move the pivot along the width of the texture. Change the value of the Rotation Pivot Offset.v property to move the pivot along the height of the texture. For example, entering a value of 0.50 for both U and V properties places the texture’s rotation pivot in the center.