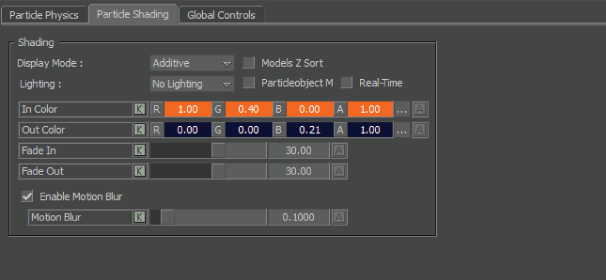
The Particle Shading pane in the Shader settings lets you customize the visual appearance of the particles used in the Particle shader, such as lighting, color and motion blur.

Particle Shading pane
Display mode menu
Use the Display mode menu to set the way particles are shown in the Viewer window.
| Display mode | Effect |
|---|---|
| Additive | Displays particles in additive transparency mode. |
| Matte | Displays particles in the opaque matte mode. |
| Translucent | Displays particles in translucent mode. |
Models Z Sort option
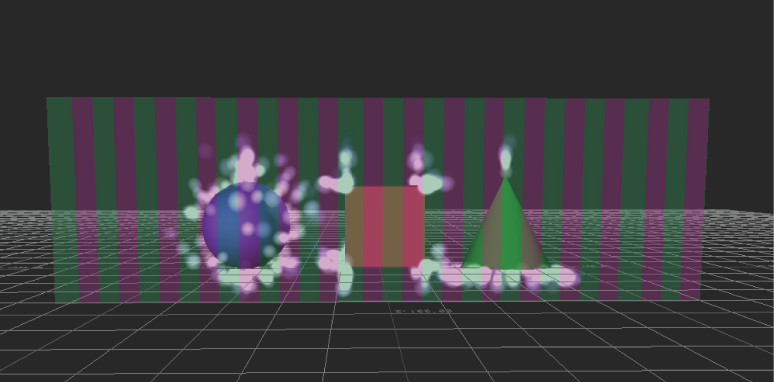
Activate Models Z Sort when you want to show particles behind other transparent models. Models Z Sort redraws the particles so that they appear behind transparent or translucent objects when in Additive or Translucent Display mode.
The Models Z Sort option sorts models by bounding volume and then draws each model from back to front.

Activate Models Z Sort to show particles behind transparent models.
Polygon culling is specified for each model in the Shader manager. See Flat Shader transparency types for a description of transparencies you can use on your models.
Particle Object M option
When using Models Z Sort, activate this setting so that each particle is sorted individually, creating a more realistic particle effect.
Real Time option
Activate this option to view the sorting effects of the Models Z Sort and Particle Object M options in real time. If this option is disabled, the Models Z Sort and Particle Object M effects are only used when rendering.
Lighting menu
The Lighting menu lets you select a method to light the particles.
| Lighting method | Description |
|---|---|
| No Lighting | The Particles are not lit. This is the default setting. Tip: This method renders particles more quickly.
|
| Simple Lighting | Performs a rough calculation of lighting: 1 normal is used per particle. In this method, the normals always face the camera. Tip: This method renders particles more quickly than the Smooth Lighting selection.
|
| Smooth Lighting | Performs a more advanced calculation of lighting to create a smooth effect: 5 Normals are used per particle. In this method, Normals surround the particle to create a more realistic effect. Note: This method is slower than the Simple Lighting selection.
|
In Color settings
Use the In Color settings to set the color applied to particles at the beginning (In point) of their life time.
Out Color settings
Use the Out Color settings to set the color applied to particles at the end (Out point) of their life time.
Fade In slider
Use the Fade In slider to set a percentage of the particle’s life time that is used to fade in the particle.
Fade Out slider
Use the Fade Out slider to set the percentage of the particle’s life time that is used to fade the particle out.
Enable Motion Blur option
Activate the Enable Motion Blur option when you want the particles to have a blur applied to them to imply motion. The higher the value, the more particles deformed.
Motion Blur slider
Use the Motion Blur slider to set the blur amount for the particle as it travels, creating a stretching effect. Values range from 0.00 to 1.00.