When working on building projects, you must often make changes to meet client or regulatory requirements.
Revisions need to be tracked for future reference. For example, you may want to check the revision history to identify when, why, and by whom a change was made. Revit provides tools that enable you to track revisions and include revision information on sheets in a construction document set.
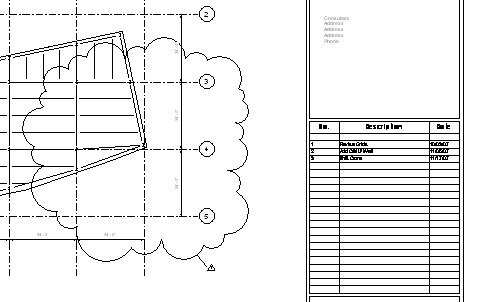
Example

Revisions on a sheet
Structural Example
Revision tracking is the process of recording changes made to a building model after sheets have been issued. In Revit, you display and track revisions using revision clouds, tags, and schedules.
- Enter information about the revision in the Sheet Issues/Revisions dialog.
- Update the Revit project to implement the change.
- In one or more project views, draw revision clouds to indicate the areas that changed.
- Assign a revision to each cloud.
- Tag the revision clouds to identify the assigned revisions.
See Tag a revision cloud.
- Check sheets to make sure that the revision schedules show the desired information.
See Specify the revisions to include in a revision schedule.
- Issue the revisions.
See Issue a revision.
Typically you manage the revision process as follows: