Add a spot elevation to obtain the point of elevation for an element such as a ramp, road, toposurface, or stair landing.
- Click Annotate tab
 Dimension panel
 (Spot Elevation).
 - In the Type Selector, select the type of spot elevation to place.
- On the Options Bar, do the following:
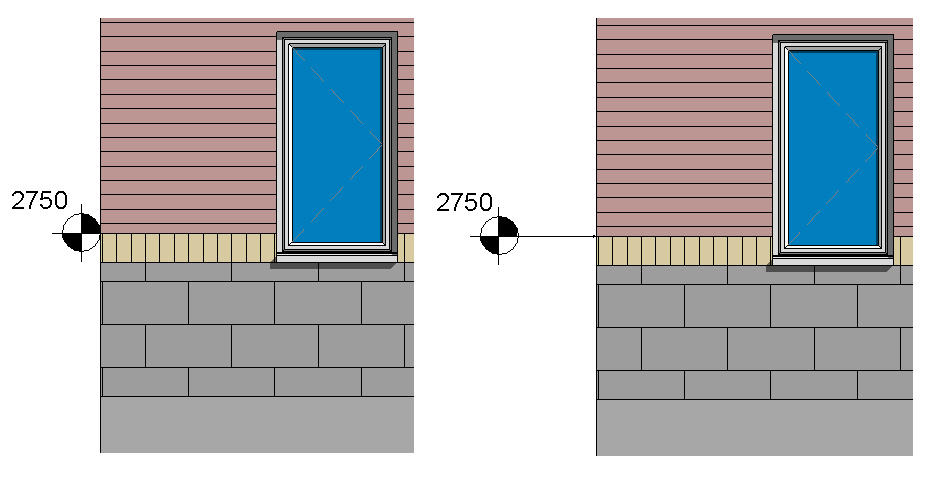
- Select or clear Leader.

Spot elevation without leader and with leader
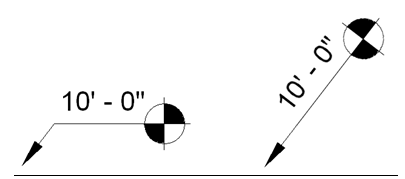
- If Leader is selected, optionally select Shoulder to add a bend to the spot elevation leader.

Spot elevation with leader shoulder and without leader shoulder
- If you are placing a relative spot elevation, select a level for Relative Base.
- Select an option for Display Elevations (enabled when you place a spot elevation in a plan view):
- Actual (Selected) Elevation displays the elevation of the selected point on the element.
- Top Elevation displays the top elevation of the element.
- Bottom Elevation displays the bottom elevation of the element.
- Top & Bottom Elevations displays the top and bottom elevations of the element.
- Select or clear Leader.
- Select an edge of an element, or select a point on a toposurface.
When you move the cursor over an element on which you can place the spot elevation, the value of the spot elevation displays in the drawing area.
- If you are placing a spot elevation:
- without a leader, click to place it.
- with a leader, move the cursor away from the element, and click to place the spot elevation.
- with a leader and a shoulder, move the cursor away from the element. Click once to place the leader shoulder. Move the cursor again and then click to place the spot elevation.
- To finish, press Esc twice.
If you select a spot elevation after placing it, you can move it using the drag controls. If you delete an element that is referenced or turn off its visibility, the spot elevation is removed.
Related topics