A subregion defines an area of the toposurface where you can apply a different set of properties, such as material.
For example, you can use subregions to draw parking lots on a graded surface, roads, or islands.
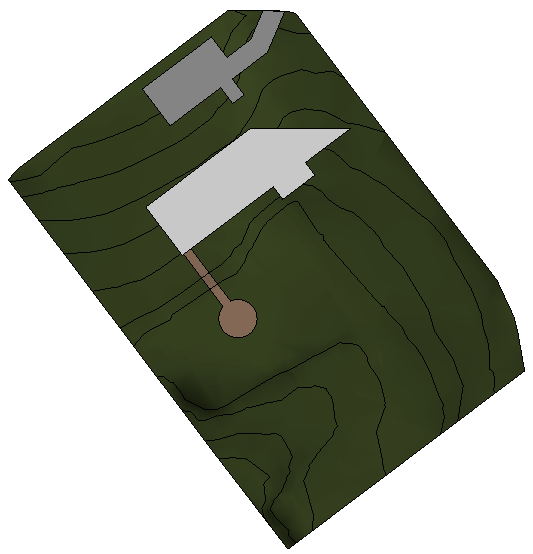
 Video: Create a Topographic Subregion
Creating subregions does not result in separate surfaces. To create separate surfaces that can be edited independently, use the Split Surface tool.
Tip: You can use subregions to add road elements like parking, turn arrows, and disabled markings. To simplify the process, use a detail component as a template and use the Pick Lines tool in the subregion editor. If desired, you can lock boundaries of the subregion to the picked lines of the detail component. When you move the detail component, the subregion adjusts automatically.
To create a subregion
- Open a site plan that displays a toposurface.
- Click Massing & Site tab
 Modify Site panel
 (Subregion).
Revit enters sketch mode.
- Click
 (Pick Lines) or use other sketching tools to create a subregion on the toposurface.
Note: Use a single closed loop to create a toposurface subregion. If you create multiple closed loops, only the first loop is used to create the subregion; the remaining loops are ignored.
(Pick Lines) or use other sketching tools to create a subregion on the toposurface.
Note: Use a single closed loop to create a toposurface subregion. If you create multiple closed loops, only the first loop is used to create the subregion; the remaining loops are ignored.
To modify subregion boundaries
- Select the subregion.
- Click Modify | Topography tab Subregion panel
 (Edit Boundary).
- Click
(Pick Lines) or use other sketching tools to modify the subregion on the toposurface.
Example