Results: View Temperature with a Results Plane
At this point, both scenarios are complete, and you should be in Results mode. To verify this, make sure the Results tab is active. Click it if it isn't.

In this step we'll look at the temperature distribution through a cross-section of the hall that includes the occupant.
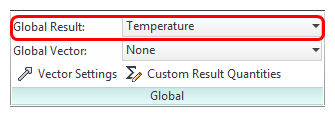
1. Change the displayed result to Temperature by selecting Temperature from the Global Result menu on the Global context panel:
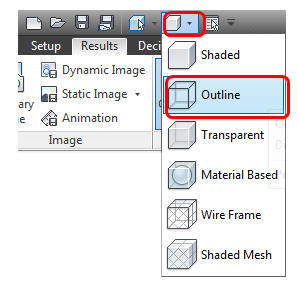
2. Show the model as an Outline.
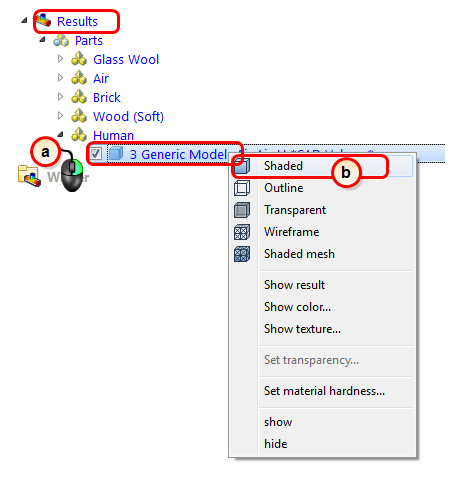
3. For clarity, shade the occupant.
- a. In the Results branch of the Design Study Bar, right click on the part name under the Human material branch.
- b. Click Shaded from the menu.
4. Click Planes from the Results tab:

5. To create a Plane, click Add on the Planes context panel:

6. If the Show outlines box is checked, uncheck it. (You'll have to expand the drop menu on the Planes context panel to see this.)

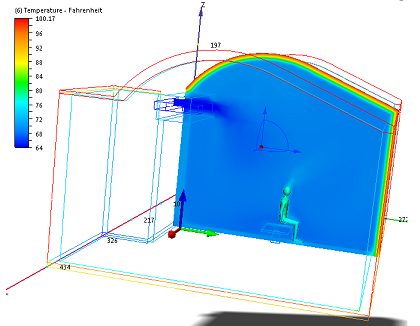
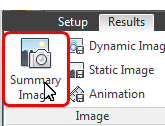
7. To save a Summary Image, click Summary Image from the Results tab.
