Transfer of Results to FEA
Autodesk® CFD results can be applied as boundary conditions for FEA analyses using several popular FEA tools. This capability showcases one of the strengths of the finite element approach, in that results can be shared across analysis platforms and used for subsequent calculations quickly and easily. This ability greatly strengthens the bond between flow and structural analysis, making for a more comprehensive and useful analysis suite. As a critical element in this suite, Autodesk® CFD allows flow analysis to be an integral part of the product design process.
Pressure and temperature results are interpolated onto the FEA model so the FEA mesh does not have to coincide with the Autodesk® CFD mesh. In most cases, these two meshes will be very different because of the different requirements of analysis tools.
The element types used in the FEA analysis do not have to be the same as in the Autodesk® CFD analysis.
The procedure for converting Autodesk® CFD results to FEA boundary conditions is described. Specific details for each supported FEA tool are also presented:
Autodesk® CFD :  | FEA:  |
Procedure
Steps 1 through 4 need to be completed in the FEA tool. Steps 5 through 9 are performed in Autodesk® CFD. Step 10 is performed in the FEA tool.
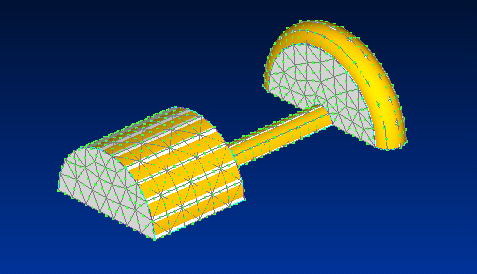
Prepare the FEA geometry. The model geometry must be in the same position and orientation as the Autodesk® CFD model:

Build the appropriate finite element mesh for your structural analysis. The mesh does not have to have the same density or use the same element types as the Autodesk® CFD mesh. Only regions critical to the FEA analysis have to be meshed:

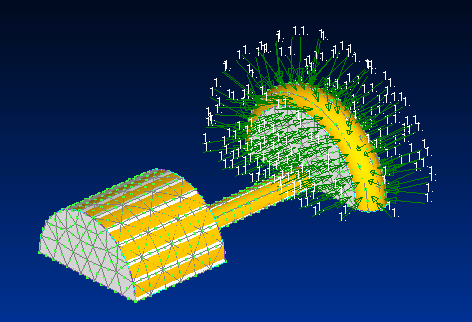
Apply pressures or temperatures to the appropriate locations in the FEA model. The specified value does not matter; they will be overwritten with values calculated by Autodesk® CFD:

Export an analysis deck. The file types for the supported FEA tools are listed below.
In the completed Autodesk® CFD analysis, open the FEA Mapping dialog from Results (tab) > Results Tasks (expansion panel) > FEA Mapping.
Select the FEA deck using the Browse button.
Select the Results type to Map (pressure or temperature).
Indicate if the direction of pressure should be reversed. (This is specific to FEA tools: some direct positive pressure inward, some outward.)
Click the Map Results to BC button.
A new deck is written with results interpolated to the appropriate boundaries. This deck has the word “_newbcs” appended to the original name. Return to the FEA tool, and import the new deck. The boundary condition values are the result values from Autodesk® CFD, and they are interpolated to the new nodal and/or elemental locations.
File extensions for supported FEA tools:
| FEA Tool | Analysis Deck |
| Nastran | .nas (or.dat) |
| Abaqus | .inp |
| Ansys | .ans (or cdb) |
| Pro/Mechanica | No input file needed |
| FEMAP | .neu |
| Cosmos/M | .gfm |
| I-deas | .unv |
Transfer of Multiple Time Steps
By default, only the results from the last saved result set or time step are converted to an FEA load set. To convert all saved result sets of a transient analysis to FEA load sets, enable the following flag in the Flag Manager:
Follow the procedure described above to create an FEA deck containing a mesh and applied (dummy) loads and to map the results using the Load Transfer dialog in the Autodesk® CFD interface. A separate file containing the interpolated results as loads for each time step will then be exported.
Each resultant file follows the following naming convention:
deckname_newbcs_t#.filetype
- deckname = the name assigned to the deck when it was saved from the FEA tool
- filetype = the appropriate extension of the deck (could be “.inp,” “.ans,” “.nas,” “.unv,” “.neu,” “.gfm”)